Sync From AWS S3
Connect a Datature Vi dataset to an Amazon S3 bucket using an IAM role and a trust policy. Step-by-step setup with the exact JSON payloads to apply.
Datature Vi reads images and videos from an Amazon S3 bucket using an IAM role that you create in your AWS account. The role has read-only access to the bucket, and a trust policy lets Vi assume the role from our account. This guide walks through the setup in the order the wizard asks for it.
- A paid Datature Vi account. External bucket sync is not available on the free tier.
- An AWS account with permission to create IAM policies and IAM roles.
- An S3 bucket that already contains the assets you want to sync.
- Permission to edit the bucket's CORS configuration.
Open the Explorer tab
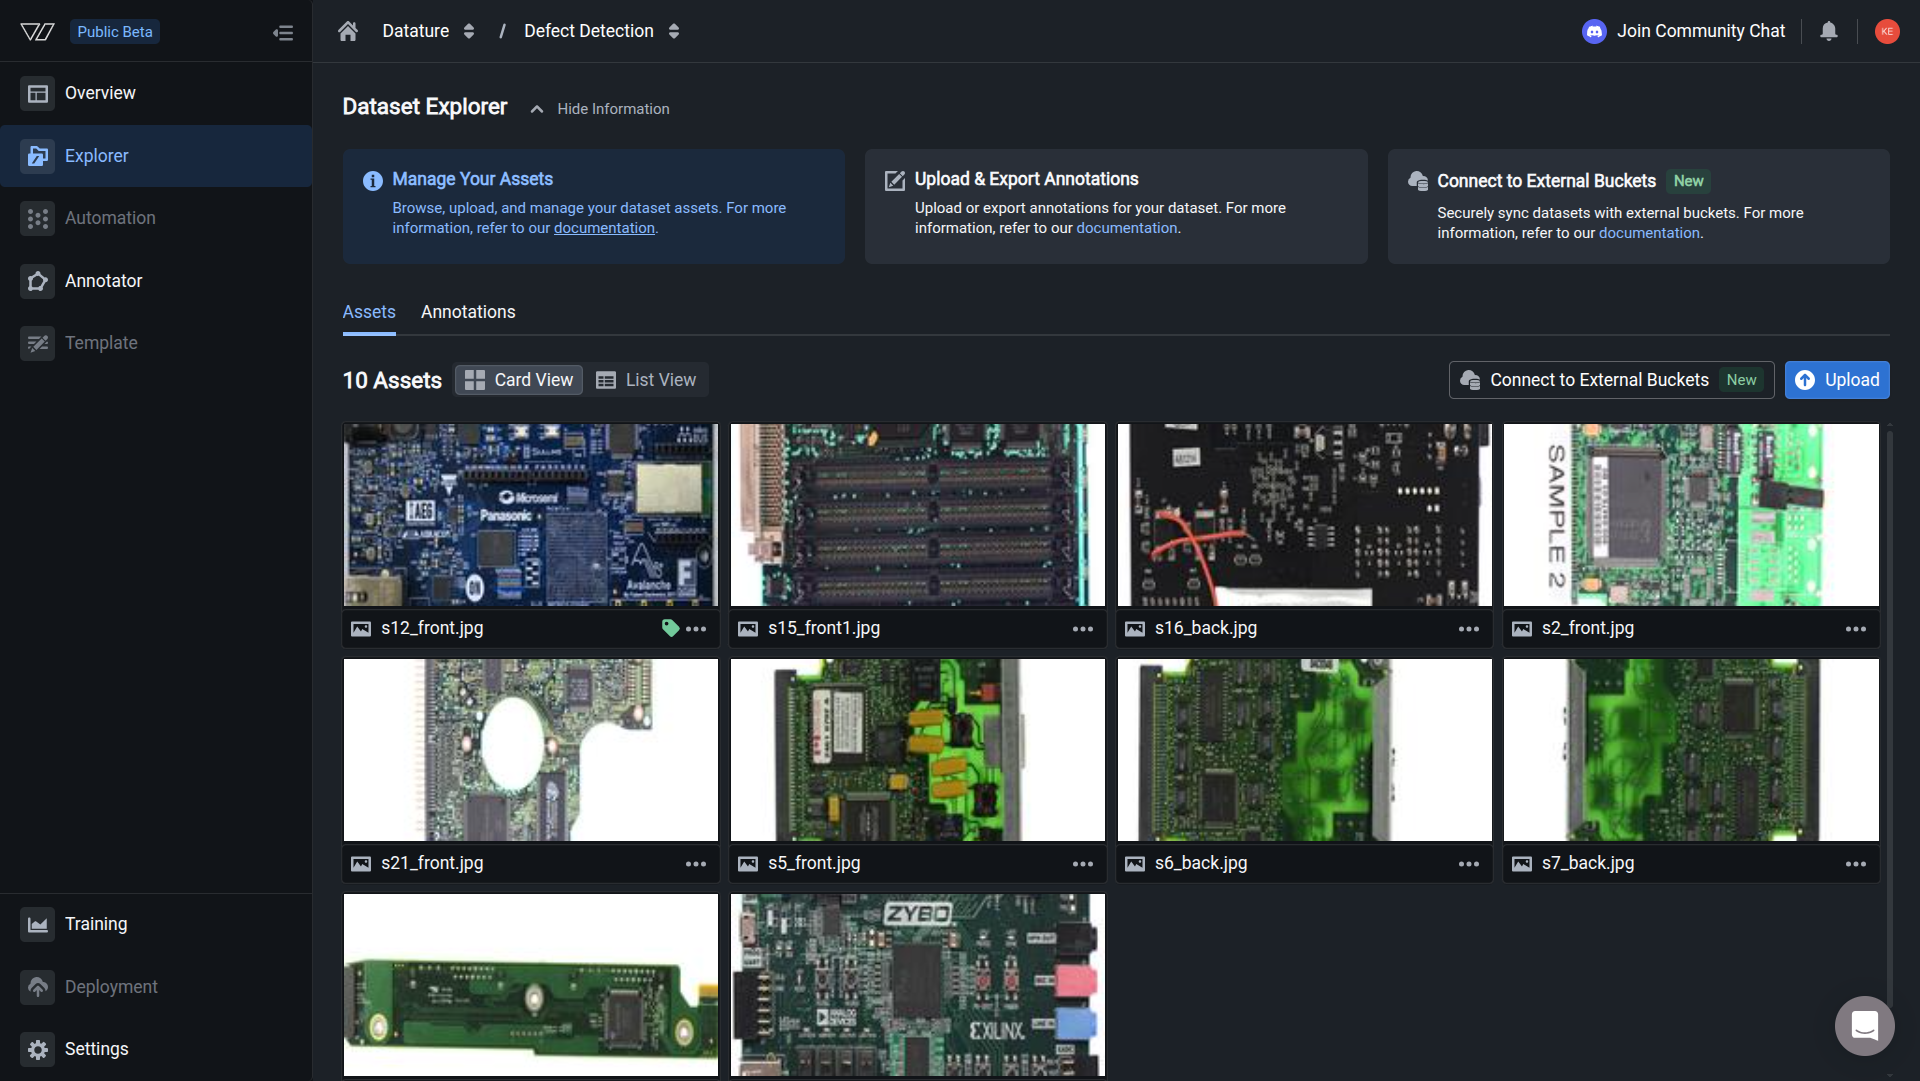
In the left sidebar, click the Explorer tab on your dataset. This is where the synced assets will appear after the connection is set up.
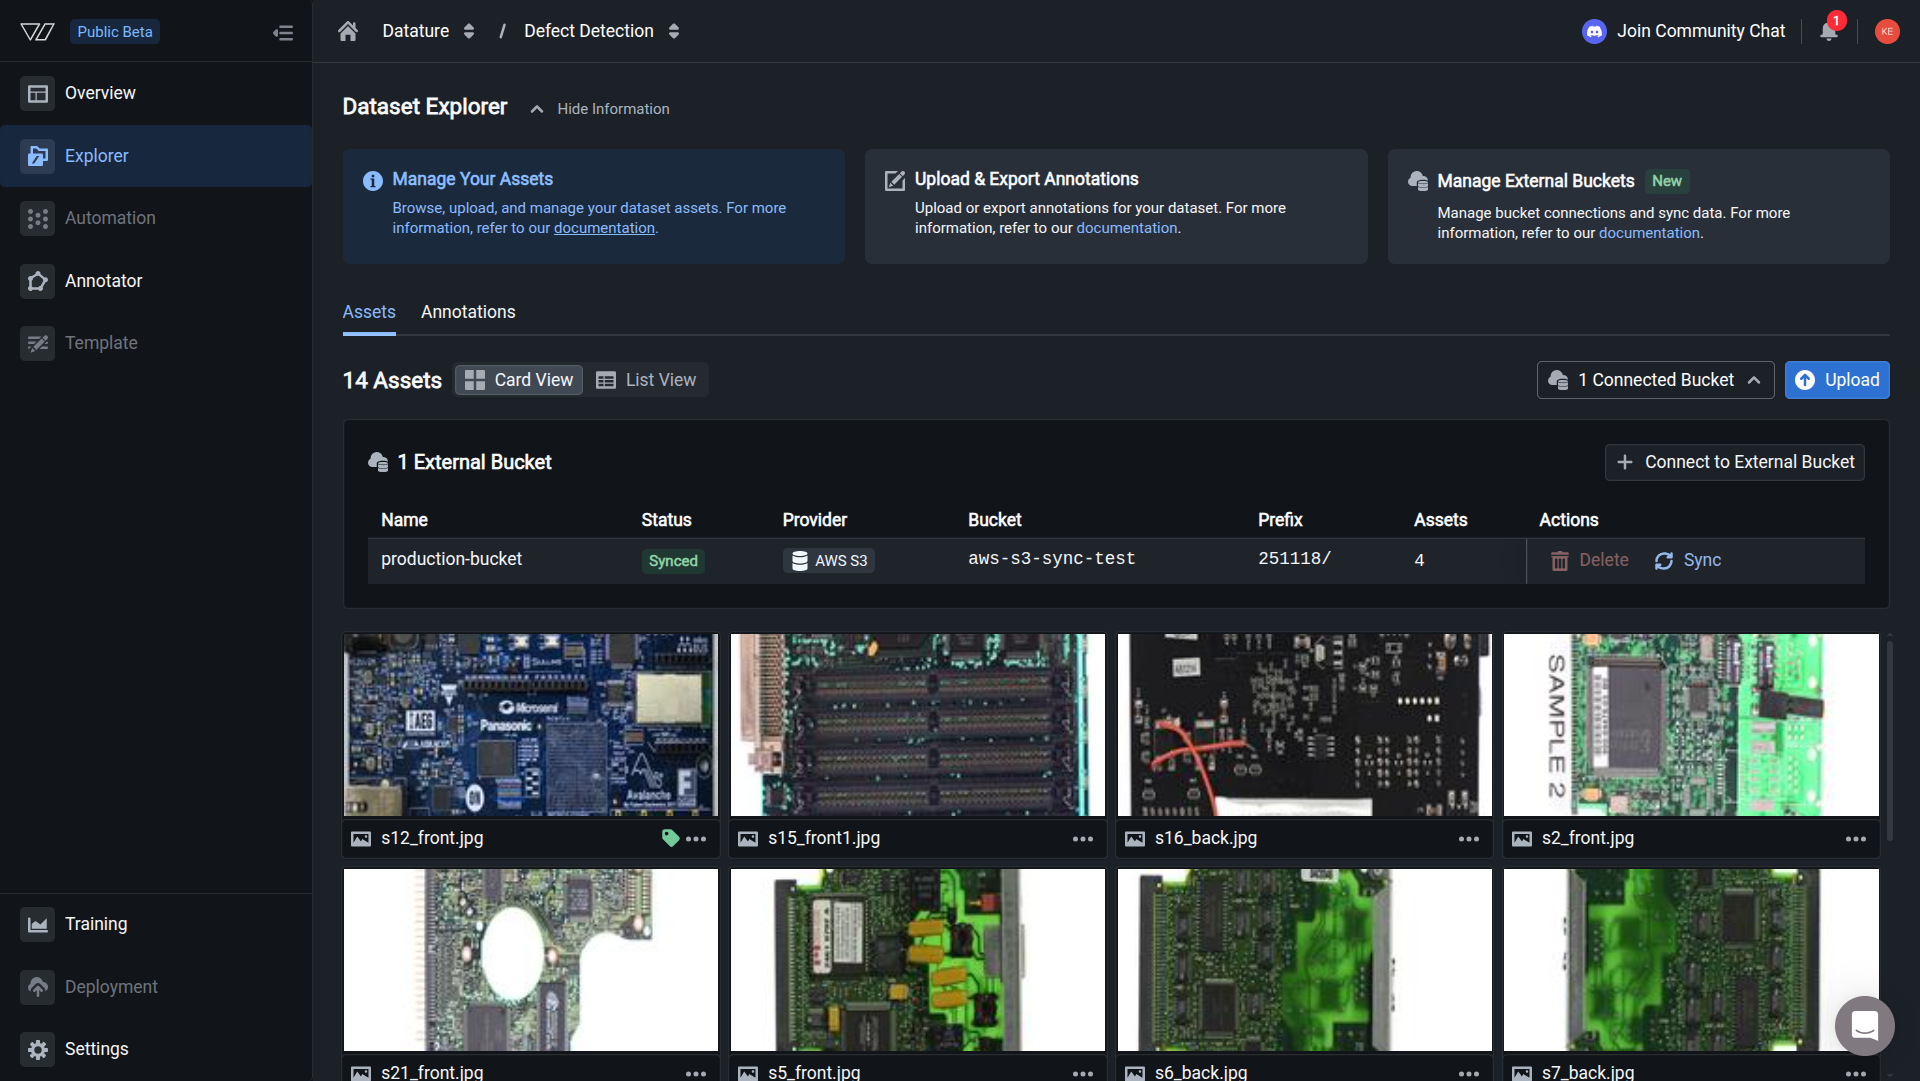
Synced images appear in the dataset Explorer with thumbnails. The asset count in the header reflects the new objects pulled from S3.
Step 1: Enter the bucket details
Open your dataset, then walk through the wizard.
The Bucket Details tab asks for four fields:
Click Next. Vi generates two JSON files for the next step.
If you see a banner that reads "There was an error in creating the bucket connection," check that the bucket name and region match the AWS console exactly, and confirm your account has remaining data row quota.
Step 2: Apply the IAM policy and trust policy
Vi gives you two JSON payloads. Apply them in the order shown below.
IAM policy
This policy grants Vi read access to the bucket. Replace {bucket name} with your bucket name and {prefix}* with your folder prefix (or leave it as * to cover the whole bucket).
{
    "Version": "2012-10-17",
    "Statement": [
        {
            "Effect": "Allow",
            "Action": "s3:ListBucket",
            "Resource": "arn:aws:s3:::{bucket name}",
            "Condition": {
                "StringLike": {
                    "s3:prefix": "{prefix}*"
                }
            }
        },
        {
            "Effect": "Allow",
            "Action": [
                "s3:GetObject",
                "s3:GetObjectAttributes"
            ],
            "Resource": "arn:aws:s3:::{bucket name}/{prefix}*"
        }
    ]
}
In the AWS console:
Open IAM Policies
Go to IAM in the AWS console, then Policies, and click Create policy.
Paste the JSON
Switch to the JSON tab and paste the policy above.
Name and create the policy
Click Next, give the policy a recognisable name such as vi-s3-read, and click Create policy.
Trust policy
The trust policy lets Vi's AWS account assume the role you are about to create. Vi generates the exact Principal ARN and ExternalId for your connection. Copy those values from the wizard.
{
  "Version": "2012-10-17",
  "Statement": [
      {
          "Effect": "Allow",
          "Action": "sts:AssumeRole",
          "Principal": {
              "AWS": "arn:aws:iam::277710232653:role/ext-<your-connection-id>"
          },
          "Condition": {
              "StringEquals": {
                  "sts:ExternalId": "<your-external-id>"
              }
          }
      }
  ]
}The example ARN and external ID above are placeholders. The wizard generates a unique pair for every connection. Copy them from the Vi UI before pasting into AWS.
In the AWS console:
Open IAM Roles
Go to IAM, then Roles, and click Create role.
Choose Custom trust policy
Under Trusted entity type, select Custom trust policy and paste the JSON from Vi.
Attach the policy you created
Click Next. On the Add permissions screen, search for vi-s3-read (or whatever you named the policy in the previous section) and select it.
Name the role
Give the role a name such as vi-s3-sync, review, and click Create role.
Step 3: Configure CORS on the bucket
Vi loads thumbnails and previews from your bucket in the browser, so the bucket has to allow cross-origin requests.
In the S3 console, open your bucket, click Permissions, scroll to Cross-origin resource sharing (CORS), click Edit, and paste:
[
    {
        "AllowedHeaders": [],
        "AllowedMethods": [
            "GET"
        ],
        "AllowedOrigins": [
            "https://vi.datature.com"
        ],
        "ExposeHeaders": []
    }
]
If your bucket already has a CORS configuration, merge the vi.datature.com origin into the existing rule rather than replacing it.
Step 4: Paste the role ARN into Vi
Back in the AWS console, open the role you created and copy the ARN from the Summary section. Paste it into the Vi wizard and click Next.
The Connection Status step shows one of two outcomes:
Step 5: Sync your assets
Choose Sync Now to start the first sync immediately, or Sync Later to set up the connection without syncing. If you pick Sync Now, Vi walks through three more screens before the sync starts in earnest.
- Preview Files to Sync. Vi scans the bucket prefix and shows the file count alongside a sample of object paths. Confirm the preview matches what you expect, then click Sync.
- Sync Started. A confirmation appears letting you know the job is running in the background. Click I Understand to dismiss the dialog; the sync continues even after you close the wizard or the browser tab.
- Track progress. Open the Connected Bucket dropdown in the top-right of the Explorer to see the connection name, status, provider, bucket, prefix, asset count, and a live progress bar while assets are retrieved.
The first sync takes 5 to 40 minutes depending on the bucket size.
Asset requirements
Files in S3 must meet the same format requirements as direct uploads.
Annotations are not part of the bucket sync. Vi reads only image and video metadata from S3. If you have existing labels in COCO, YOLO, Pascal VOC, CSV, or Vi JSONL, upload them directly to Vi once the assets finish syncing.