Upload Assets
Add images or videos to a Datature Vi dataset using drag-and-drop or the Vi SDK. Covers both asset types, upload options, and common troubleshooting.
Assets are the images or videos you add to a dataset for annotation and training. Datature Vi supports both types, and you can upload them through the browser or via the Vi SDK.
This page is the hub for asset uploads. Pick your asset type below for format-specific guides, or read on for the general upload process that applies to both.
- A dataset created in Datature Vi. Create one now if you haven't yet.
- Assets in a supported format. See Upload images or Upload videos for format lists.
Drag and drop images or videos onto the Explorer upload area, or use the Vi SDK for large batches and automated pipelines.
Asset types
Upload via the web interface
The browser upload suits small to medium datasets (under 1,000 assets). No setup required.
Open your dataset's Explorer tab
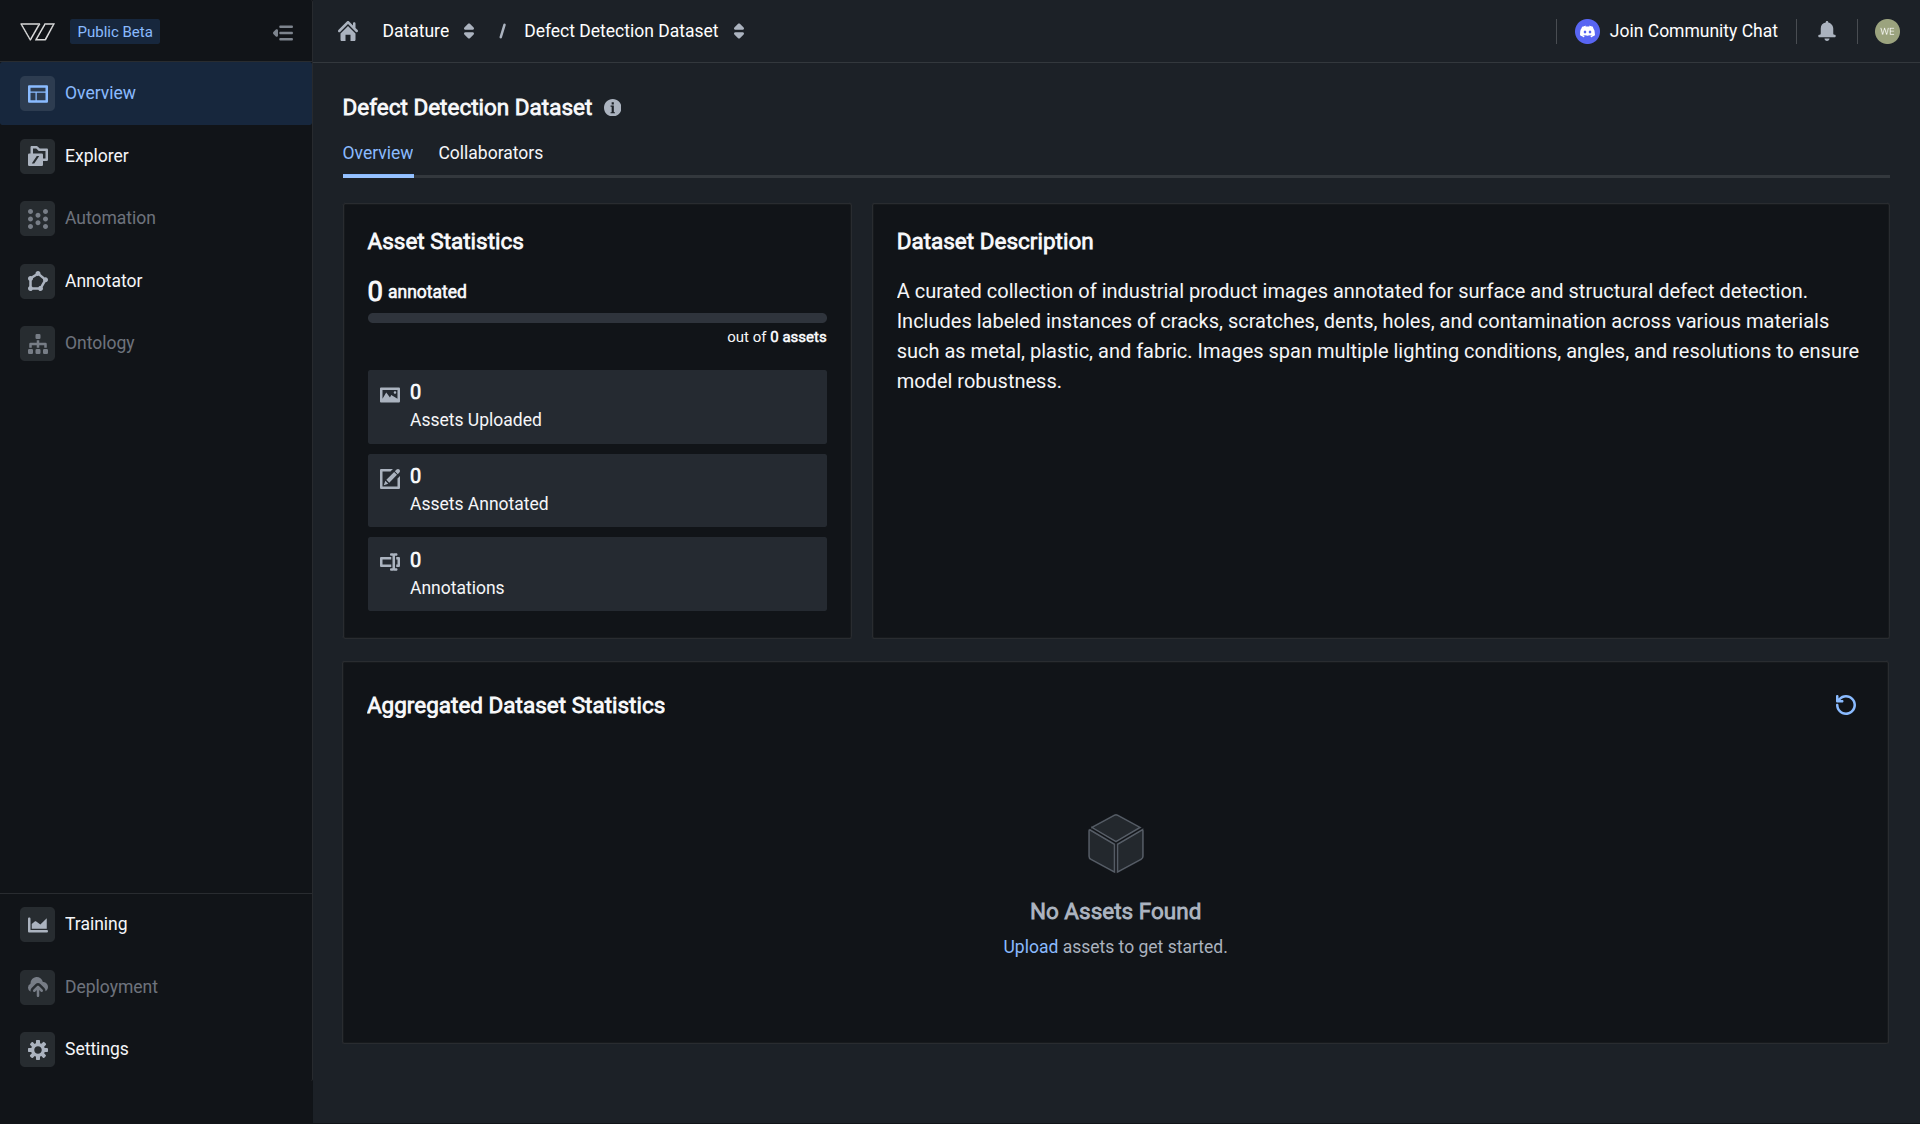
Open your dataset and click the Explorer tab. This is where your uploaded images will appear.
Uploads process in the background. You can keep working in other parts of the platform while files upload.
Folder uploads: Drag an entire folder from your file explorer onto the upload area to upload all assets inside it at once.
Batch size: For large datasets, upload in batches of 10–50 files at a time for better reliability.
Upload progress
A progress indicator at the bottom of the screen shows the current upload count, total files, and any errors. Uploads continue even if you leave the page. Check the notification icon for status updates, or return to the Explorer tab to see newly uploaded assets.
File size limits
Duplicate filenames
Uploading a file with the same name as an existing asset replaces the original. Any annotations linked to the old asset are removed.
Replacing an asset removes all annotations associated with it. Use unique filenames to avoid data loss, or use the Vi SDK for programmatic control over duplicate handling.
Large datasets and automation
For datasets above 1,000 assets, automated pipelines, or CI/CD integration, use the Vi SDK for programmatic uploads. The SDK handles batch processing, retry logic, and duplicate file control.