Create a Workflow
Set up a reusable training configuration by connecting system prompt, dataset, and model nodes in the workflow canvas.
Before You Start
- A training project already created in Datature Vi
- A dataset with annotations available in your organization
- A clear idea of your VLM task (phrase grounding or visual question answering)
A workflow in Datature Vi is a saved training configuration. It captures three things: the system prompt that instructs the model, the dataset and split settings, and the model architecture and hyperparameters. You can run the same workflow multiple times and get consistent, reproducible results.
1
Open the workflow canvas
Inside your training project, click Create Workflow. The canvas opens with two nodes arranged top to bottom: System Prompt and Dataset.
You should see
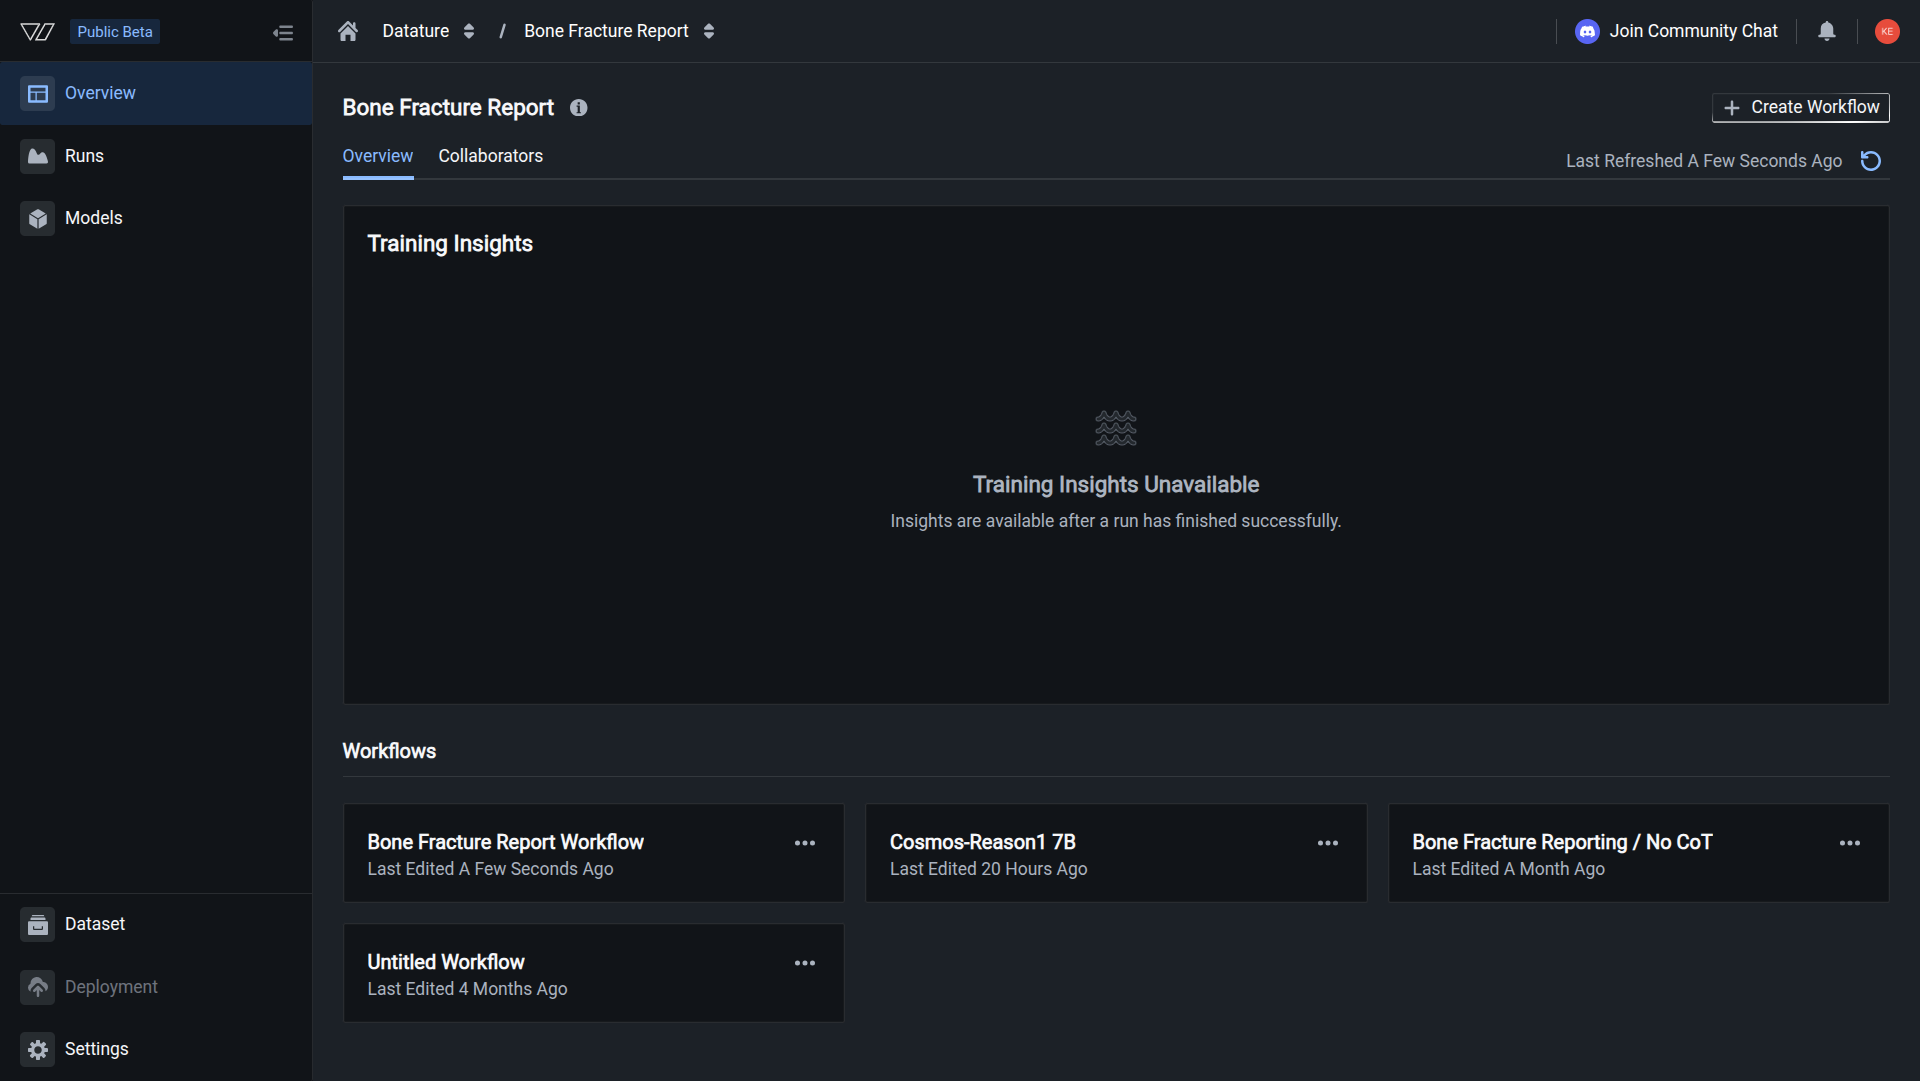
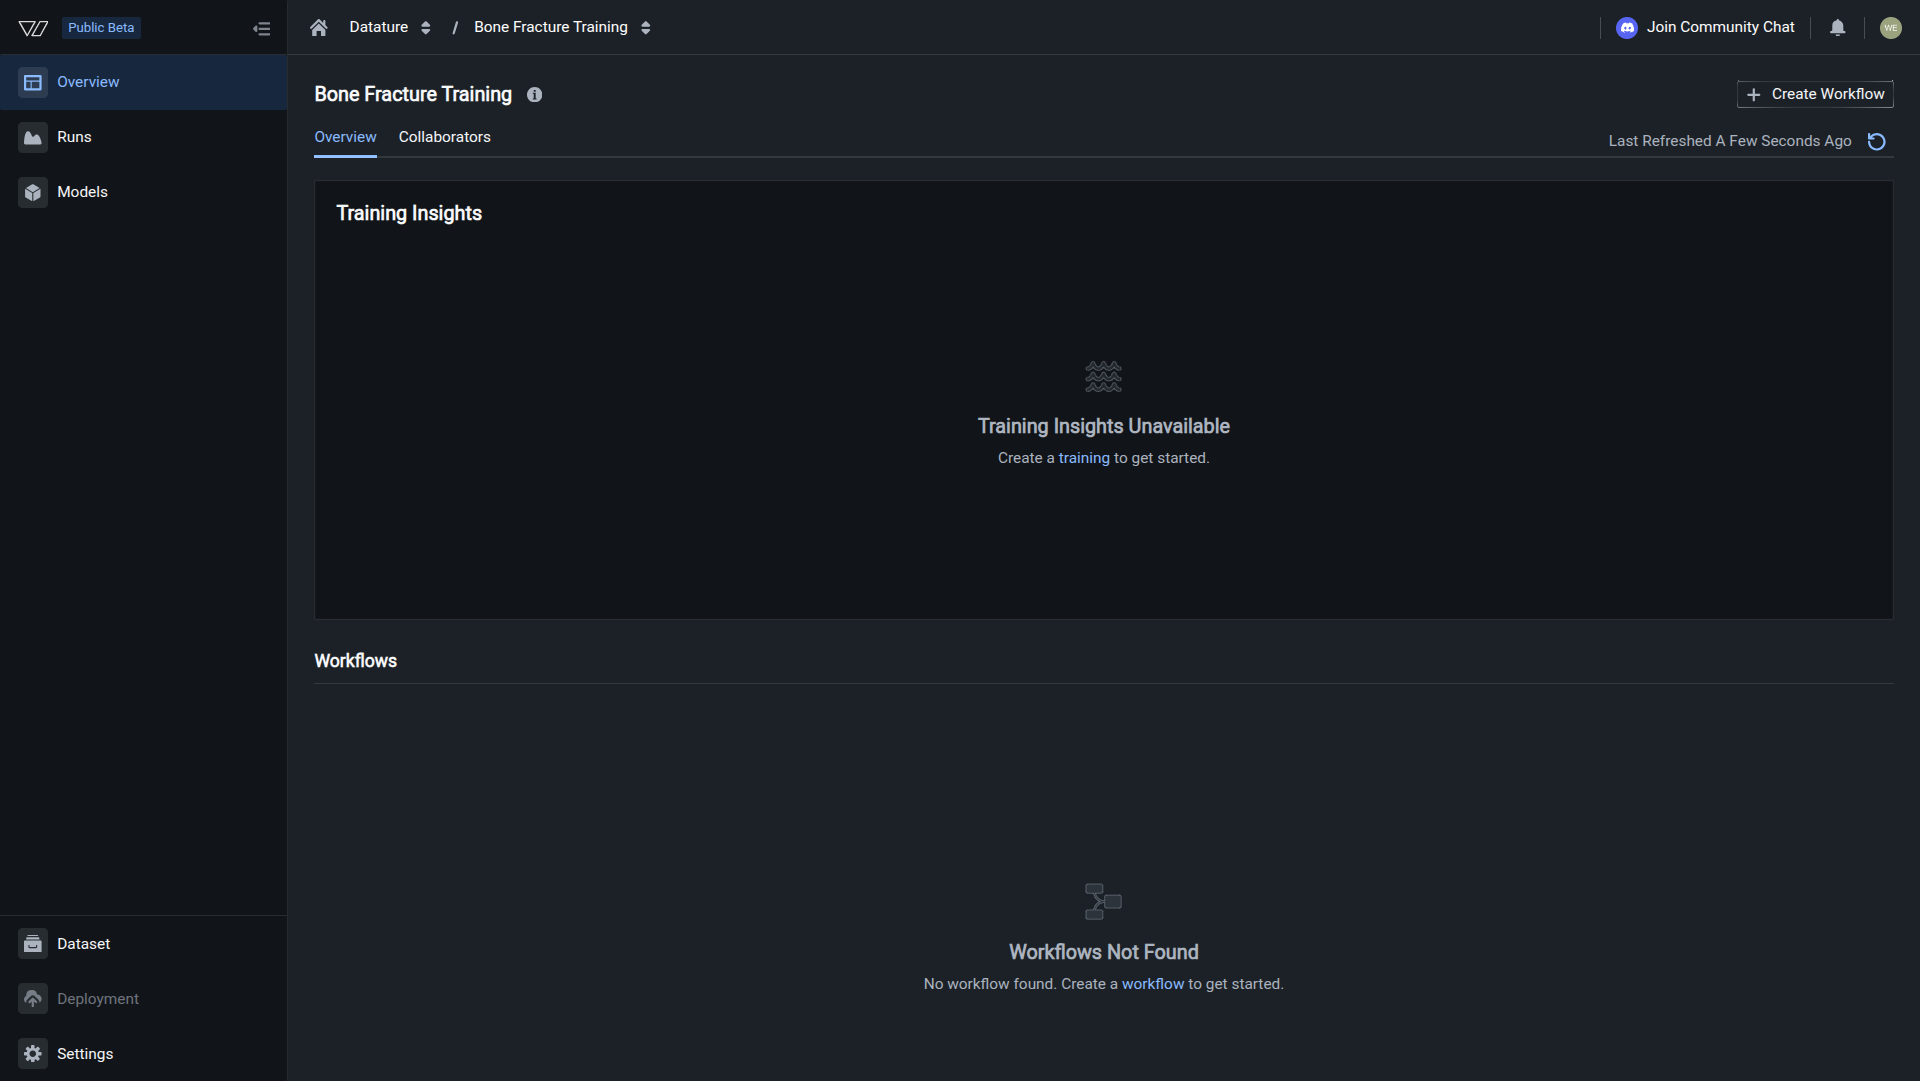
The workflow appears in your training project's Overview page under the Workflows section. You can now configure your workflow and launch a training run.
Do this with the Vi SDK
import vi

client = vi.Client(
    secret_key="your-secret-key",
    organization_id="your-organization-id"
)

flow = client.flows.create(
    spec={
        "name": "My Training Workflow",
        "schema": "workspaces/datature/flowSchemas/default",
        "tolerations": {},
        "settings": {
            "execution": {
                "accelerator": {"name": "NvidiaA10G", "count": 1}
            },
            "features": {"evaluationPreview": True},
            "evaluationIntervalEpochs": 1
        },
        "blocks": [
            {
                "block": "workspaces/datature/blocks/system-prompt",
                "settings": {
                    "systemPrompt": "Your system prompt here."
                },
                "style": {
                    "type": "system-prompt",
                    "position": {"x": 0, "y": -412}
                }
            },
            {
                "block": "workspaces/datature/blocks/dataset",
                "settings": {
                    "splitStrategy": {
                        "strategy": "TrainTestSplit",
                        "splitRatio": 0.2,
                        "shuffle": True,
                        "seed": 0
                    },
                    "project": "your-dataset-project",
                    "projectKind": "phrase-grounding"
                },
                "style": {
                    "type": "dataset",
                    "position": {"x": 0, "y": -231}
                }
            },
            {
                "block": "workspaces/datature/blocks/qwen3vl-model",
                "settings": {
                    "architecture": {"name": "qwen3vl", "size": "8B"},
                    "trainingMode": {"type": "LoRA"},
                    "quantization": {"enabled": True, "type": "NF4"},
                    "compute": {"precisionType": "BFloat16"},
                    "hyperparameters": {
                        "epochs": 10,
                        "learningRate": 0.0001,
                        "batchSize": 8,
                        "gradientAccumulation": 1,
                        "optimizer": "AdamW"
                    },
                    "evaluation": {
                        "maxNewTokens": 512,
                        "topK": 50,
                        "topP": 1,
                        "temperature": 1,
                        "repetitionPenalty": 1.05
                    }
                },
                "style": {
                    "type": "qwen3vl-model",
                    "position": {"x": 0, "y": 0}
                }
            }
        ],
        "trainingProject": "workspaces/your-org/trainingProjects/your-project"
    }
)
print(f"Created: {flow.spec.name} ({flow.flow_id})")
For more details, see the full SDK reference.