Bulk Actions
Select multiple assets in your dataset and delete them all at once using the bulk actions toolbar in Datature Vi.
Bulk actions in Datature Vi let you select multiple assets and delete them in a single step. This is the fastest way to clear out test data, remove duplicates, or clean up an entire category of poor-quality images.
- You need an existing dataset with assets you want to remove.
- You need edit access to the dataset (Owner or Editor role).
- Download a backup if there is any chance you will need the deleted assets later.
Once confirmed, all selected assets and every annotation on those assets are immediately and permanently deleted. There is no undo and no recycle bin. The only way to restore deleted assets is to re-upload from a local backup.
Open the Dataset Explorer
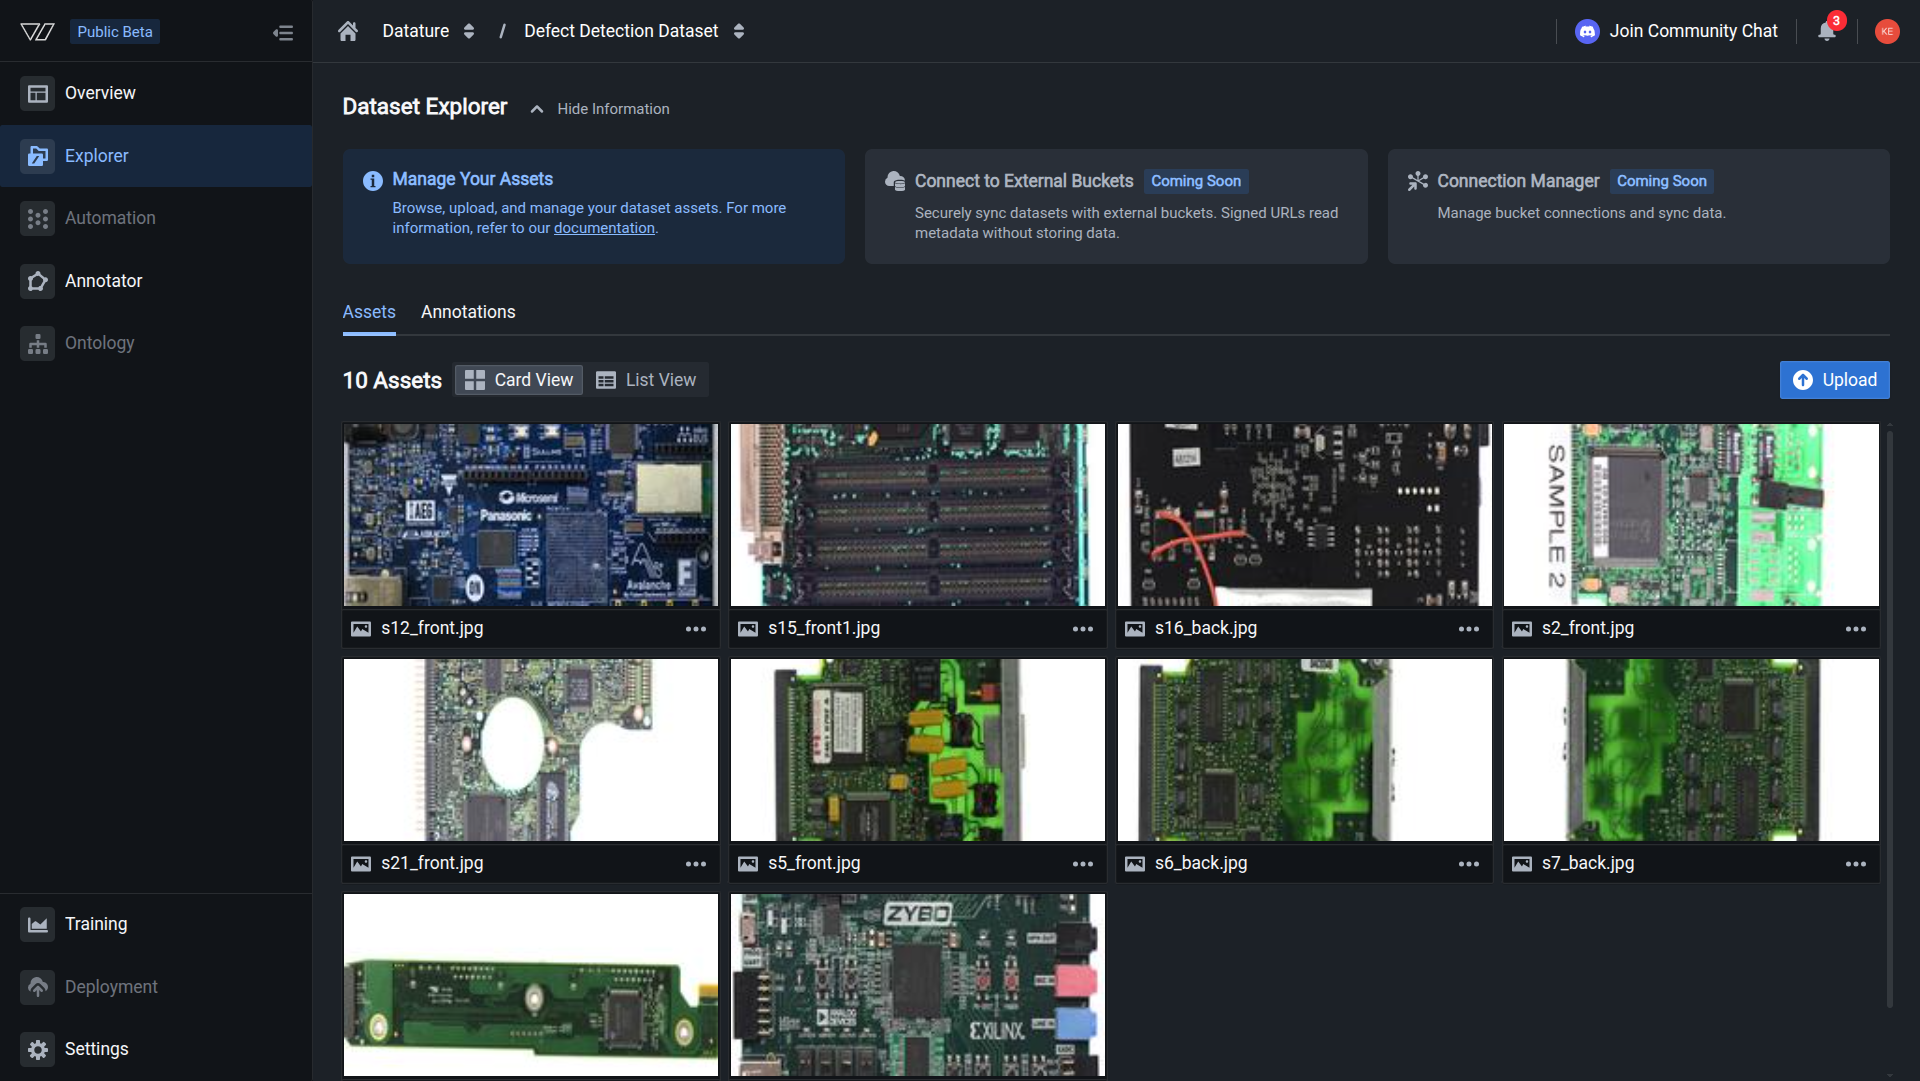
Click the Explorer tab in the sidebar to list the assets in your dataset. .
The dataset is now empty if all assets were selected in the delete operation.
After the deletion
Once the bulk delete completes:
- All selected assets are removed from the Dataset Explorer.
- The total asset count decreases by the number of deleted assets.
- The selection toolbar disappears.
- The dataset view refreshes to show the remaining assets.
Check the dataset overview to confirm the updated asset count and annotation distribution.
Troubleshooting
Do this with the Vi SDK
import vi

client = vi.Client(
    secret_key="your-secret-key",
    organization_id="your-organization-id"
)

response = client.datasets.bulk_delete_assets(
    dataset_id="your-dataset-id",
    filter_criteria='{"status": "error"}'
)
For more details, see the full SDK reference.