Upload Annotations
Import existing annotations into a Datature Vi dataset. Supports COCO, YOLO, Pascal VOC, CSV, and Vi JSONL formats for phrase grounding and VQA tasks.
Annotations define what your model learns to recognize: bounding boxes linked to text phrases for phrase grounding, or question-answer pairs for visual question answering (VQA). If you already have annotated data from another tool or platform, you can import it directly into Datature Vi.
Before You Start
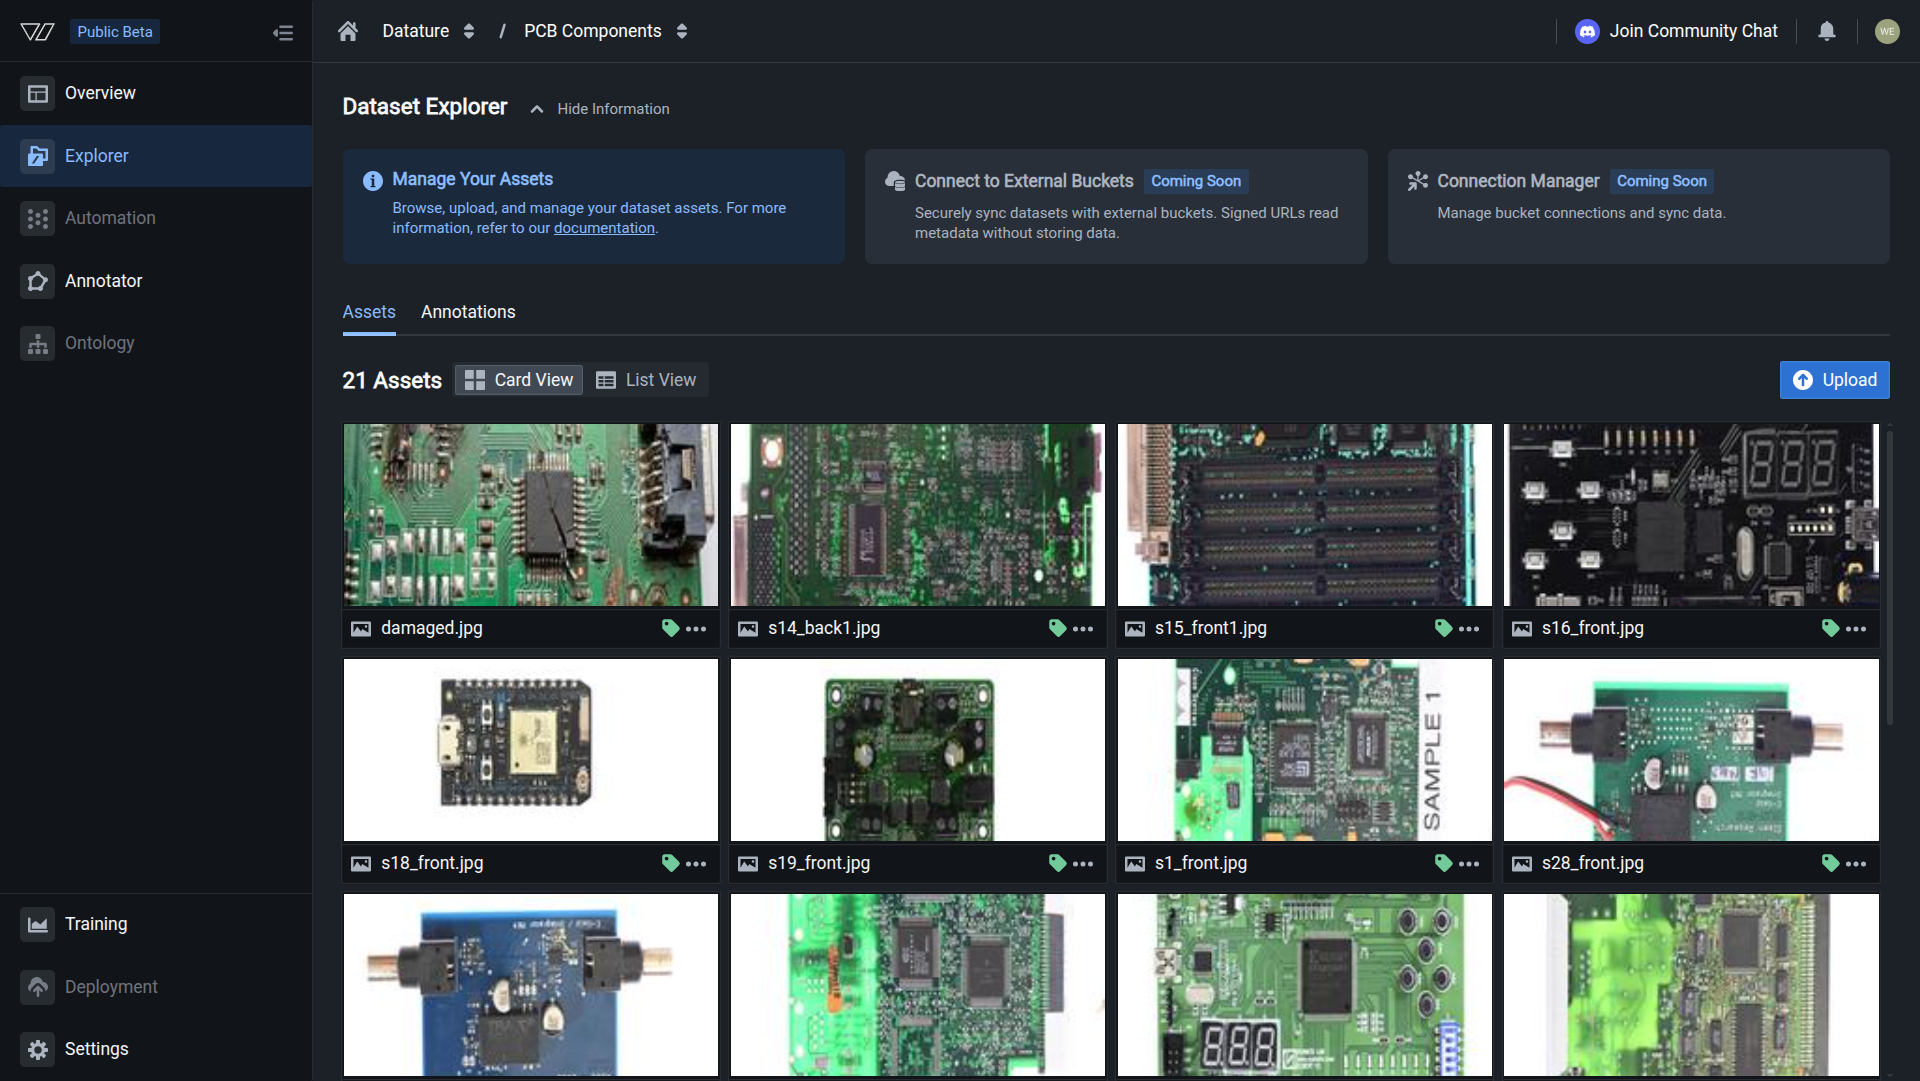
- A dataset with uploaded images in Datature Vi. Upload images first.
- Annotation files in a supported format.
- Annotation filenames that reference image filenames exactly (case-sensitive, including file extensions).
1
Open the Annotations tab
In the Dataset Explorer, click the Annotations tab to access the upload area.
You should see
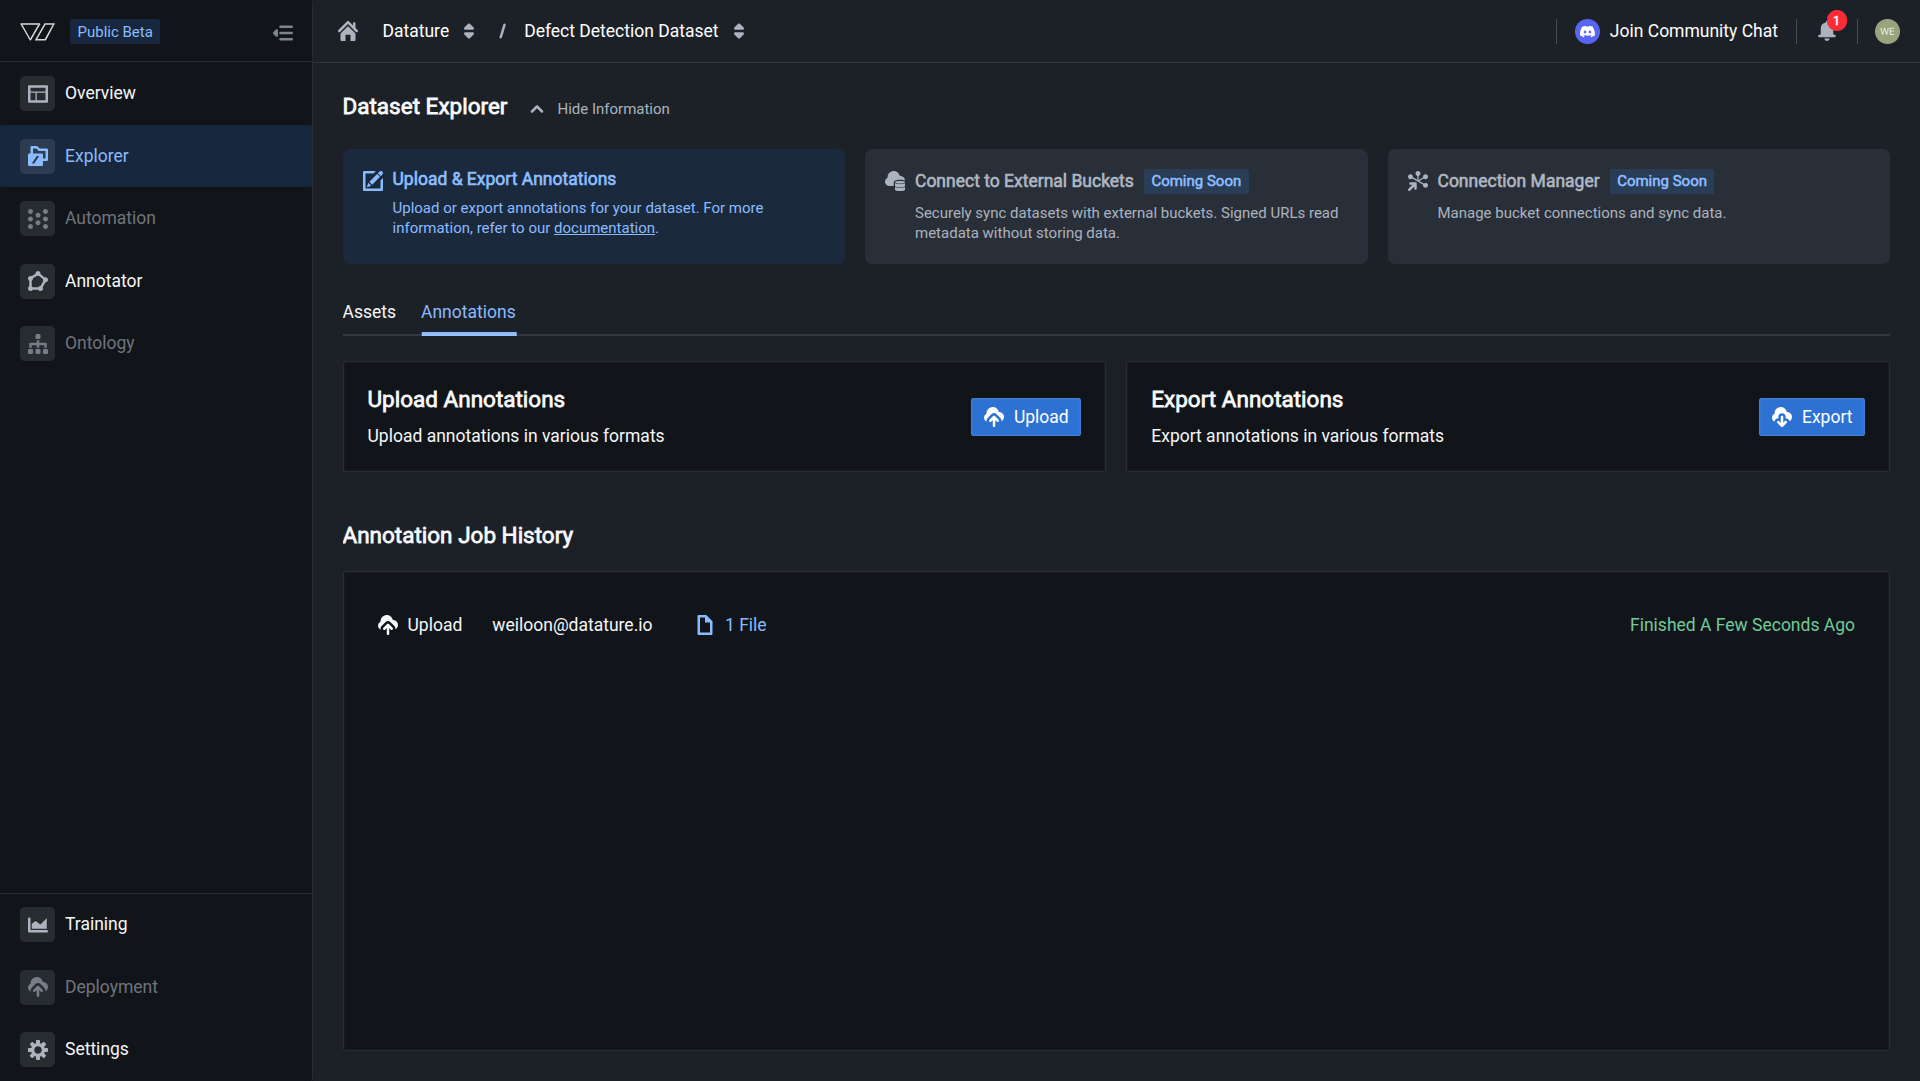
Your annotations are uploaded when you see a successfully finished job.
Supported annotation formats
Supported formats depend on your dataset type.
Phrase grounding datasets
VQA datasets
Only Vi JSONL is supported for visual question answering datasets.
Format specifications
Troubleshooting
Do this with the Vi SDK
import vi

client = vi.Client(
    secret_key="your-secret-key",
    organization_id="your-organization-id"
)

result = client.annotations.upload(
    dataset_id="your-dataset-id",
    paths="annotations.jsonl",
    wait_until_done=True
)
print(f"Imported: {result.total_annotations}")
For more details, see the full SDK reference.