Add Members

Invite team members and configure their access to datasets and training projects

Add members

Invite team members to collaborate on your organization's datasets and training projects. Configure access levels and project permissions when sending invitations.

📋

Prerequisites

Before adding members, ensure you have:

  • Admin or Owner role in your organization
  • Available collaborator slots in your subscription plan (see Resource Usage)
  • Email addresses of the people you want to invite
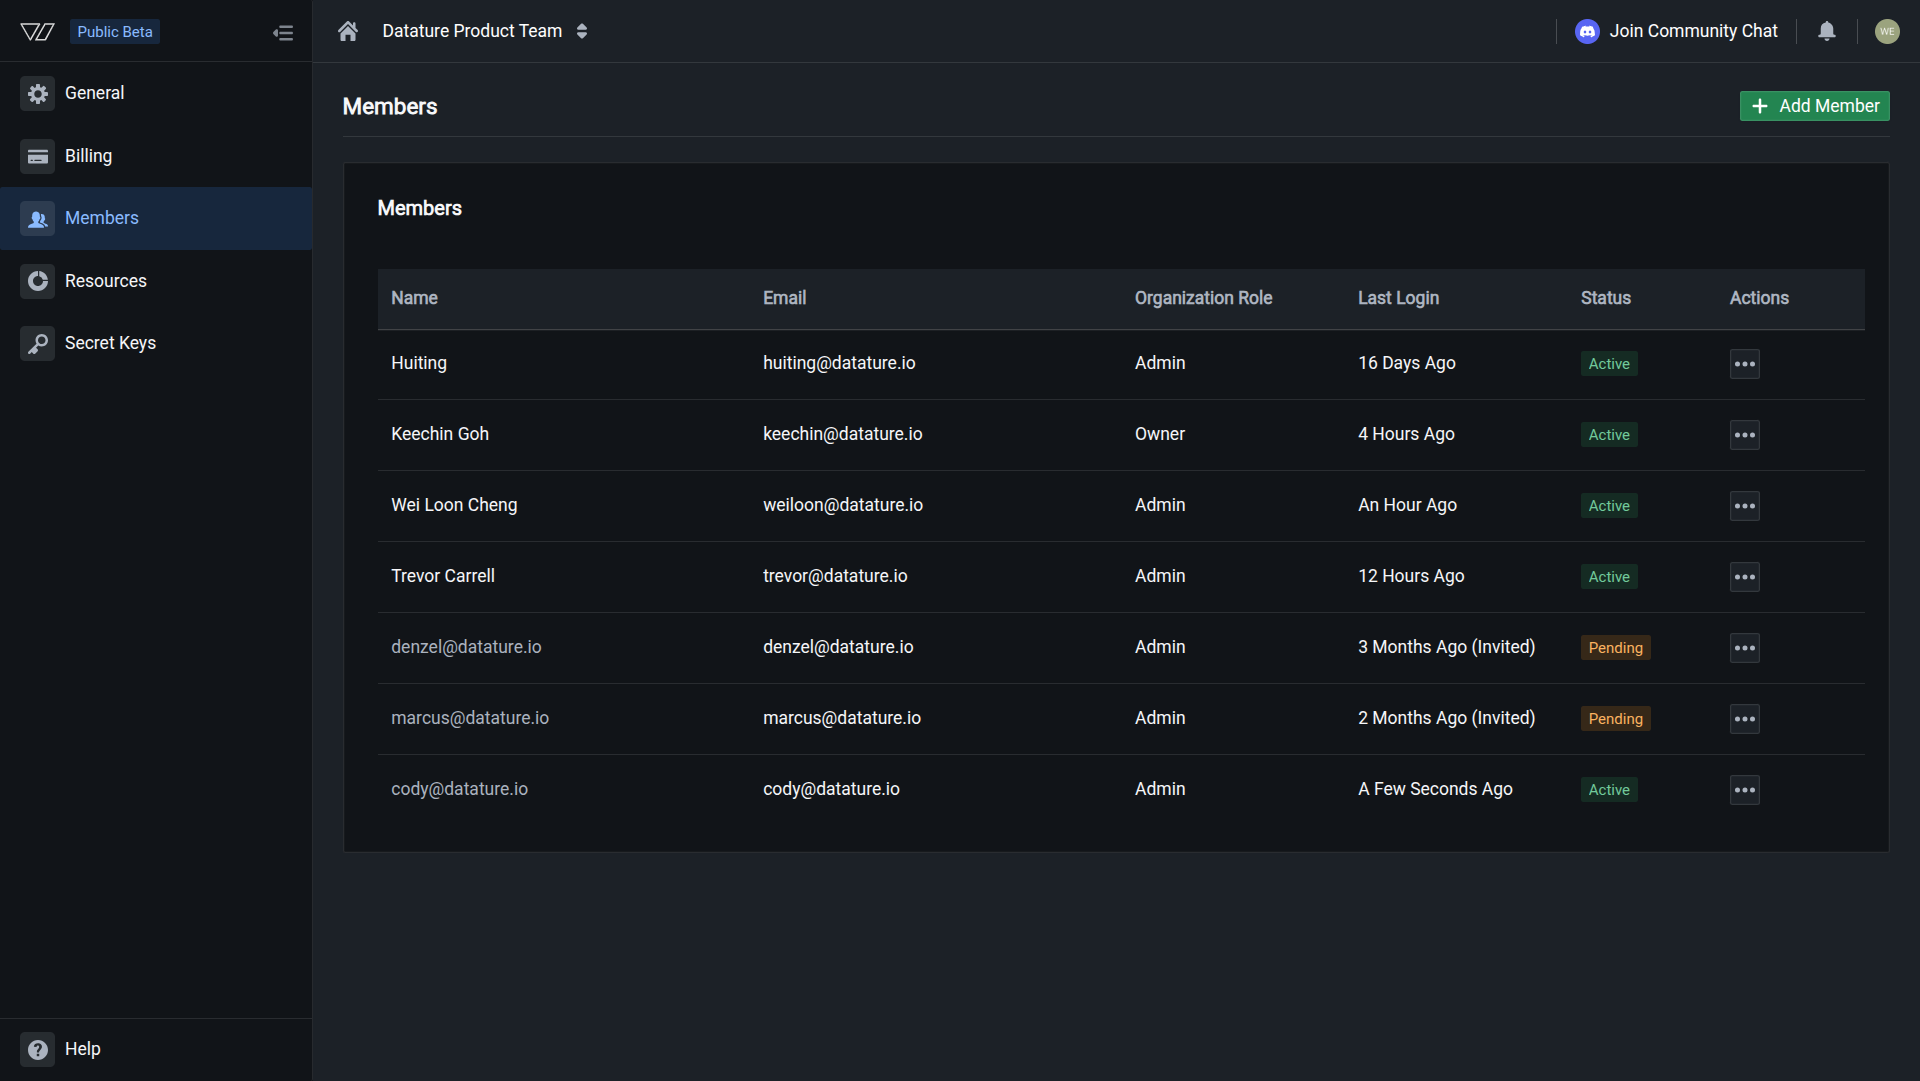
Add a team member

  1. Click the Settings icon in the bottom left corner of your workspace dashboard

  2. Go to the organization settings menu (top navigation bar) and select your organization name

  3. Click Members in the left sidebar

  4. Click + Add Member in the top right

  1. In the Invite Members dialog, configure the new member's access:

    FieldDescriptionOptions
    EmailMember's email addressValid email address
    Organization RoleOrganization-wide permissionsAdmin, Member
    DatasetWhich datasets they can accessAll Datasets, or select specific datasets
    Dataset RolePermissions level for datasetsOwner, Editor, Viewer
    TrainingWhich training projects they can accessAll Trainings, or select specific projects
    Training RolePermissions level for training projectsOwner, Editor, Viewer
  2. (Optional) Click + Add Another Member to invite multiple people at once with different access settings

  3. Check the Collaborators counter at the bottom (e.g., "Collaborators: 1/50") to ensure you have available slots

  4. Click Invite Users to send the invitations

The invited members will receive an email with instructions to join your organization. If they don't have a Datature account, they'll be prompted to create one.

Invitations sent

Once you click Invite Users, invitation emails are sent immediately. New members can accept the invitation and access assigned resources right away.

Understanding roles

Organization roles

Organization roles determine overall permissions within your organization:

RoleCan doTypical use
AdminManage members, access all resources, create projects, manage settings (cannot manage billing)Team leads, project managers
MemberAccess only assigned datasets and training projectsIndividual contributors, annotators
💡

Owner role

The Owner role has full control including billing access. Owners are set during organization creation. To transfer ownership to another member, contact Datature support at [email protected].

Dataset roles

Dataset roles control what members can do with assigned datasets:

RolePermissionsUse for
OwnerFull control: upload, annotate, delete images, manage dataset settings, and delete the datasetDataset managers
EditorUpload and annotate images, edit annotations, manage image-level settingsAnnotators, data preparation team
ViewerView images and annotations only, no modificationsQuality reviewers, stakeholders

Training project roles

Training project roles control what members can do with assigned training projects:

RolePermissionsUse for
OwnerFull control: create workflows, start runs, modify settings, deploy models, and delete projectsProject leads, ML engineers
EditorCreate workflows, start training runs, view resultsModel trainers
ViewerView workflows, runs, metrics, and results onlyStakeholders, auditors

Granting access to specific projects

You can grant members access to specific datasets and training projects rather than all resources:

Select specific datasets

In the Dataset dropdown:

  1. Click the dropdown (it defaults to "All Datasets")
  2. Select individual datasets by name
  3. Selected datasets will be shown in the dropdown

Members will only access the datasets you select.

Select specific training projects

In the Training dropdown:

  1. Click the dropdown (it defaults to "All Trainings")
  2. Select individual training projects by name
  3. Selected projects will be shown in the dropdown

Members will only access the training projects you select.

💡

Mixing access levels

You can grant access to All Datasets but only specific training projects (or vice versa). Configure dataset and training access independently based on your team's needs.

Inviting multiple members at once

To invite several people with different access levels:

  1. Fill in the first member's details (email, roles, access)

  2. Click + Add Another Member

  3. A new row appears below with separate fields

  4. Configure the second member's email and access settings

  5. Repeat for additional members

  6. Click Invite Users to send all invitations at once

![Invite Members dialog with Add Another Member button highlighted](_assets/frame_generic_dark - 2026-01-05T183200.138.png)

Each member row can have different organization roles, dataset access, and training access. This is useful for onboarding entire teams efficiently.

Common scenarios

Adding an annotator

For team members who will annotate images but not train models:

  1. Organization Role: Member
  2. Dataset: Select the specific datasets they'll annotate
  3. Dataset Role: Editor (allows annotation)
  4. Training: Leave unselected or choose "None"
  5. Training Role: Not needed if no training access

This gives them access to annotate specific datasets without accessing training projects.

Adding a project manager

For team leads who need to manage all projects:

  1. Organization Role: Admin
  2. Dataset: All Datasets
  3. Dataset Role: Owner
  4. Training: All Trainings
  5. Training Role: Owner

This provides full project management capabilities without billing access.

Adding a read-only stakeholder

For stakeholders who need to monitor progress without making changes:

  1. Organization Role: Member
  2. Dataset: Select specific datasets they need to see
  3. Dataset Role: Viewer
  4. Training: Select specific training projects
  5. Training Role: Viewer

They can view progress and results without modifying anything.

Adding a contractor for one project

For temporary team members working on a specific project:

  1. Organization Role: Member
  2. Dataset: Select only the dataset for their project
  3. Dataset Role: Editor (if they need to annotate) or Viewer
  4. Training: Select only the relevant training project
  5. Training Role: Viewer or Editor based on needs

Limit access to only what's necessary, then remove them when the project ends.

Adding an ML engineer

For team members who will train and deploy models:

  1. Organization Role: Admin or Member (based on leadership role)
  2. Dataset: All Datasets or specific datasets
  3. Dataset Role: Owner or Editor
  4. Training: All Trainings or specific projects
  5. Training Role: Owner

This provides full control over model training and deployment.

Best practices

Start with minimal access

Principle of least privilege:

  • Begin with Member organization role and Viewer project roles
  • Grant access only to specific projects they need
  • Upgrade permissions when their responsibilities grow
  • Avoid "All Datasets" or "All Trainings" unless truly needed

This minimizes security risks while maintaining flexibility.

Document role conventions

Maintain clear role guidelines:

  • Define when to use Admin vs. Member for your team
  • Document which project roles apply to different job functions
  • Share these guidelines with new members during onboarding
  • Review and update conventions as your team grows

Clear conventions prevent confusion and access creep.

Batch invitations for teams

Efficient onboarding:

  • Use + Add Another Member to invite entire teams at once
  • Prepare email addresses and desired access levels beforehand
  • Group members with similar roles to streamline configuration
  • Send all invitations in one batch to maintain consistency

Saves time and ensures consistent access setup.

Verify collaborator limits

Check available slots:

  • Review the Collaborators counter before inviting (e.g., "Collaborators: 1/50")
  • See Resource Usage for your plan's limits
  • Upgrade your plan if you need more collaborator slots
  • Remove inactive members to free up slots

Ensures invitations succeed without hitting plan limits.

Common questions

What happens after I send an invitation?

After clicking Invite Users:

  1. Each member receives an email invitation to join your organization
  2. If they have a Datature account, they can accept immediately
  3. If they don't have an account, they'll be prompted to create one first
  4. Once they accept, they gain access to assigned datasets and training projects

Invitations don't expire, but you can remove the member to revoke the invitation.

Can I change a member's role after inviting them?

Not directly. To modify roles or access:

  1. Remove the member
  2. Re-invite them with updated roles and access settings

Their work (annotations, training runs) remains intact—only their access changes.

Do invited members count against my collaborator limit?

Yes. Each invited member (regardless of whether they've accepted) counts toward your plan's collaborator limit. See Resource Usage for your current usage and limits.

To free up slots, remove members who haven't accepted invitations or are no longer active.

Can I invite someone with just an email address?

Yes. You can invite anyone with a valid email address, even if they don't have a Datature account yet. They'll be prompted to create an account when accepting the invitation.

What if I don't see the dataset or training project I want to assign?

If a dataset or training project doesn't appear in the dropdowns:

  1. Make sure the dataset or project exists in your organization
  2. Verify you have Admin or Owner permissions to grant access
  3. Try refreshing the page if you just created the resource

If issues persist, contact [email protected].

Can members invite other members?

Only Admin and Owner roles can invite new members. Members cannot invite others or modify access settings.

If a team member needs to invite others, upgrade them to Admin role.

Related resources