
Start A Training Run
Configure training settings, select GPU hardware, validate your dataset, and start a training run in Datature Vi.
- A workflow saved with system prompt, dataset, and model configured
- Compute Credits available for your intended GPU selection
- An estimate of how long training will take (see resource usage for guidance)
Starting a training run takes four steps: configure checkpointing and evaluation options, choose your GPU hardware, pass dataset validation, and review the summary before launch. From your workflow canvas, click Run Training at the bottom right to begin.
Open the run configuration dialog
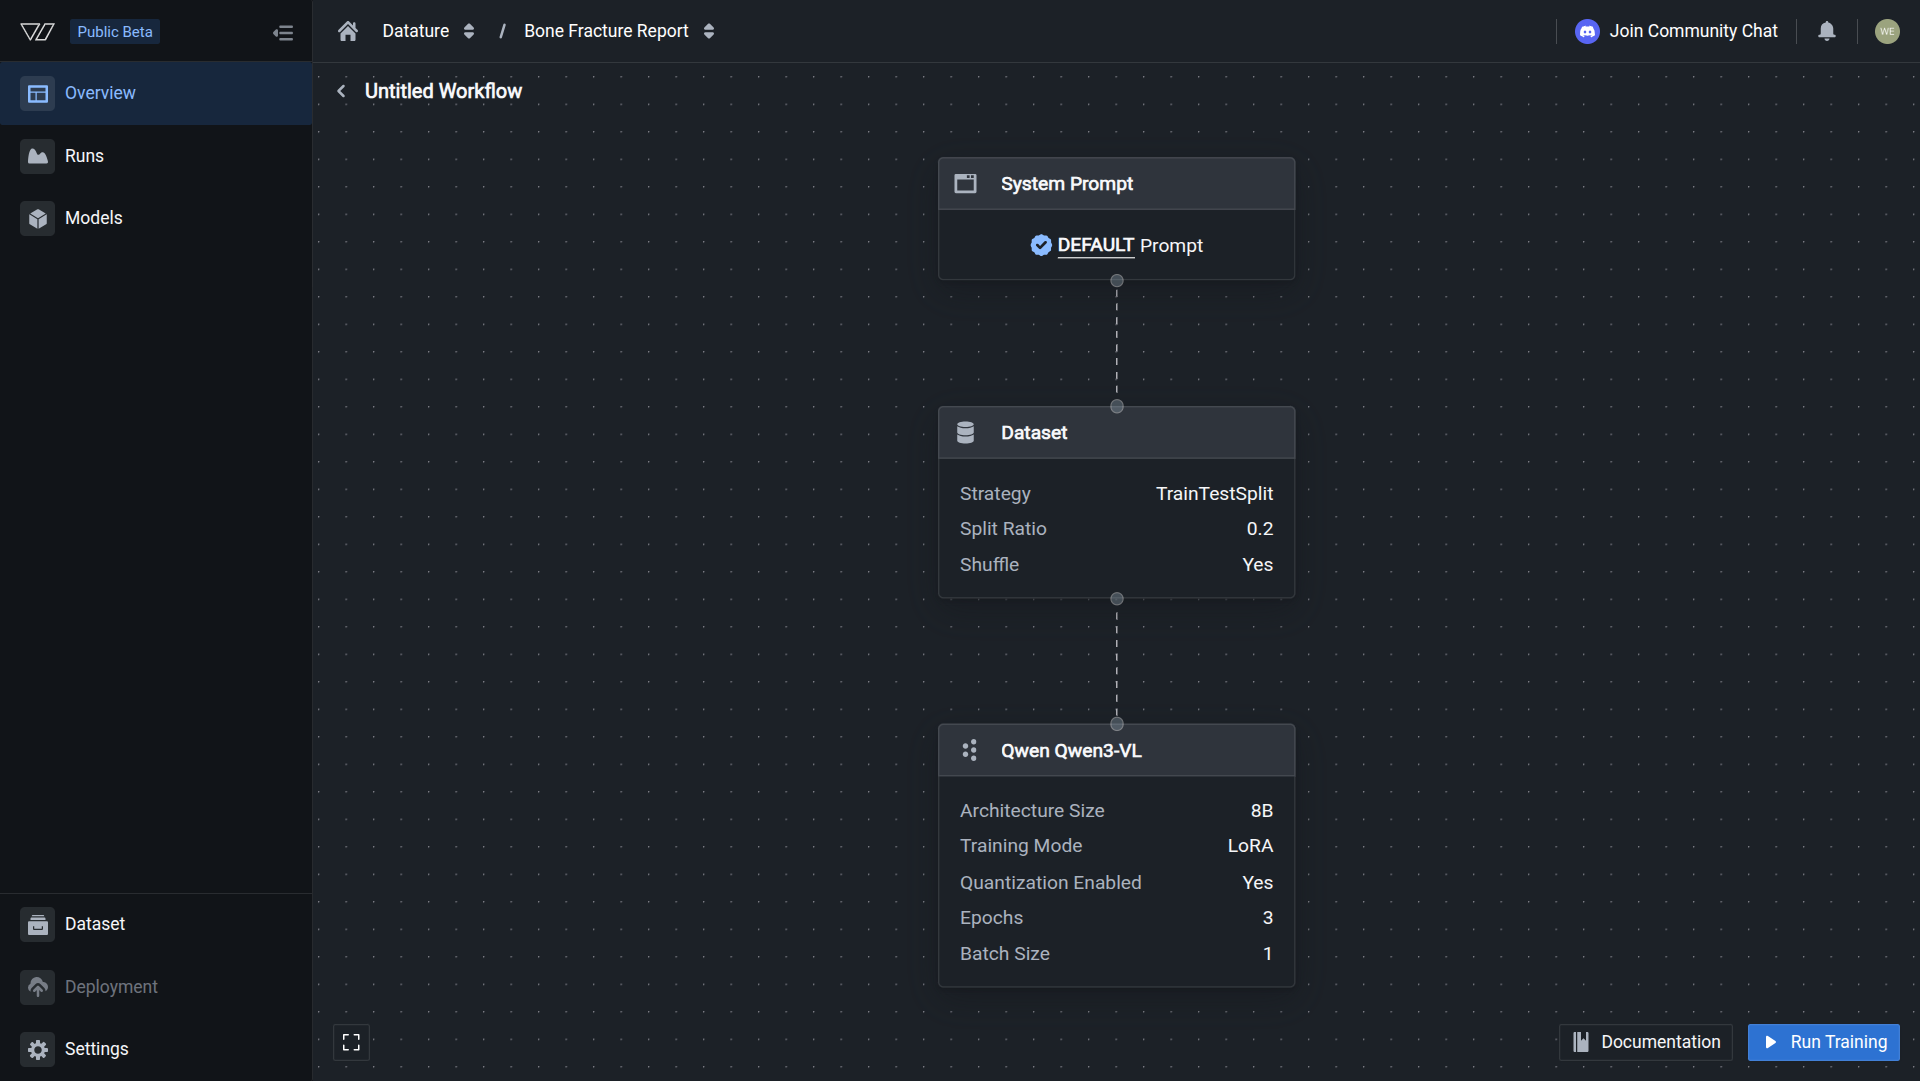
On the workflow canvas, click Run Training. The dialog opens at step 1 of 4: Advanced Settings.
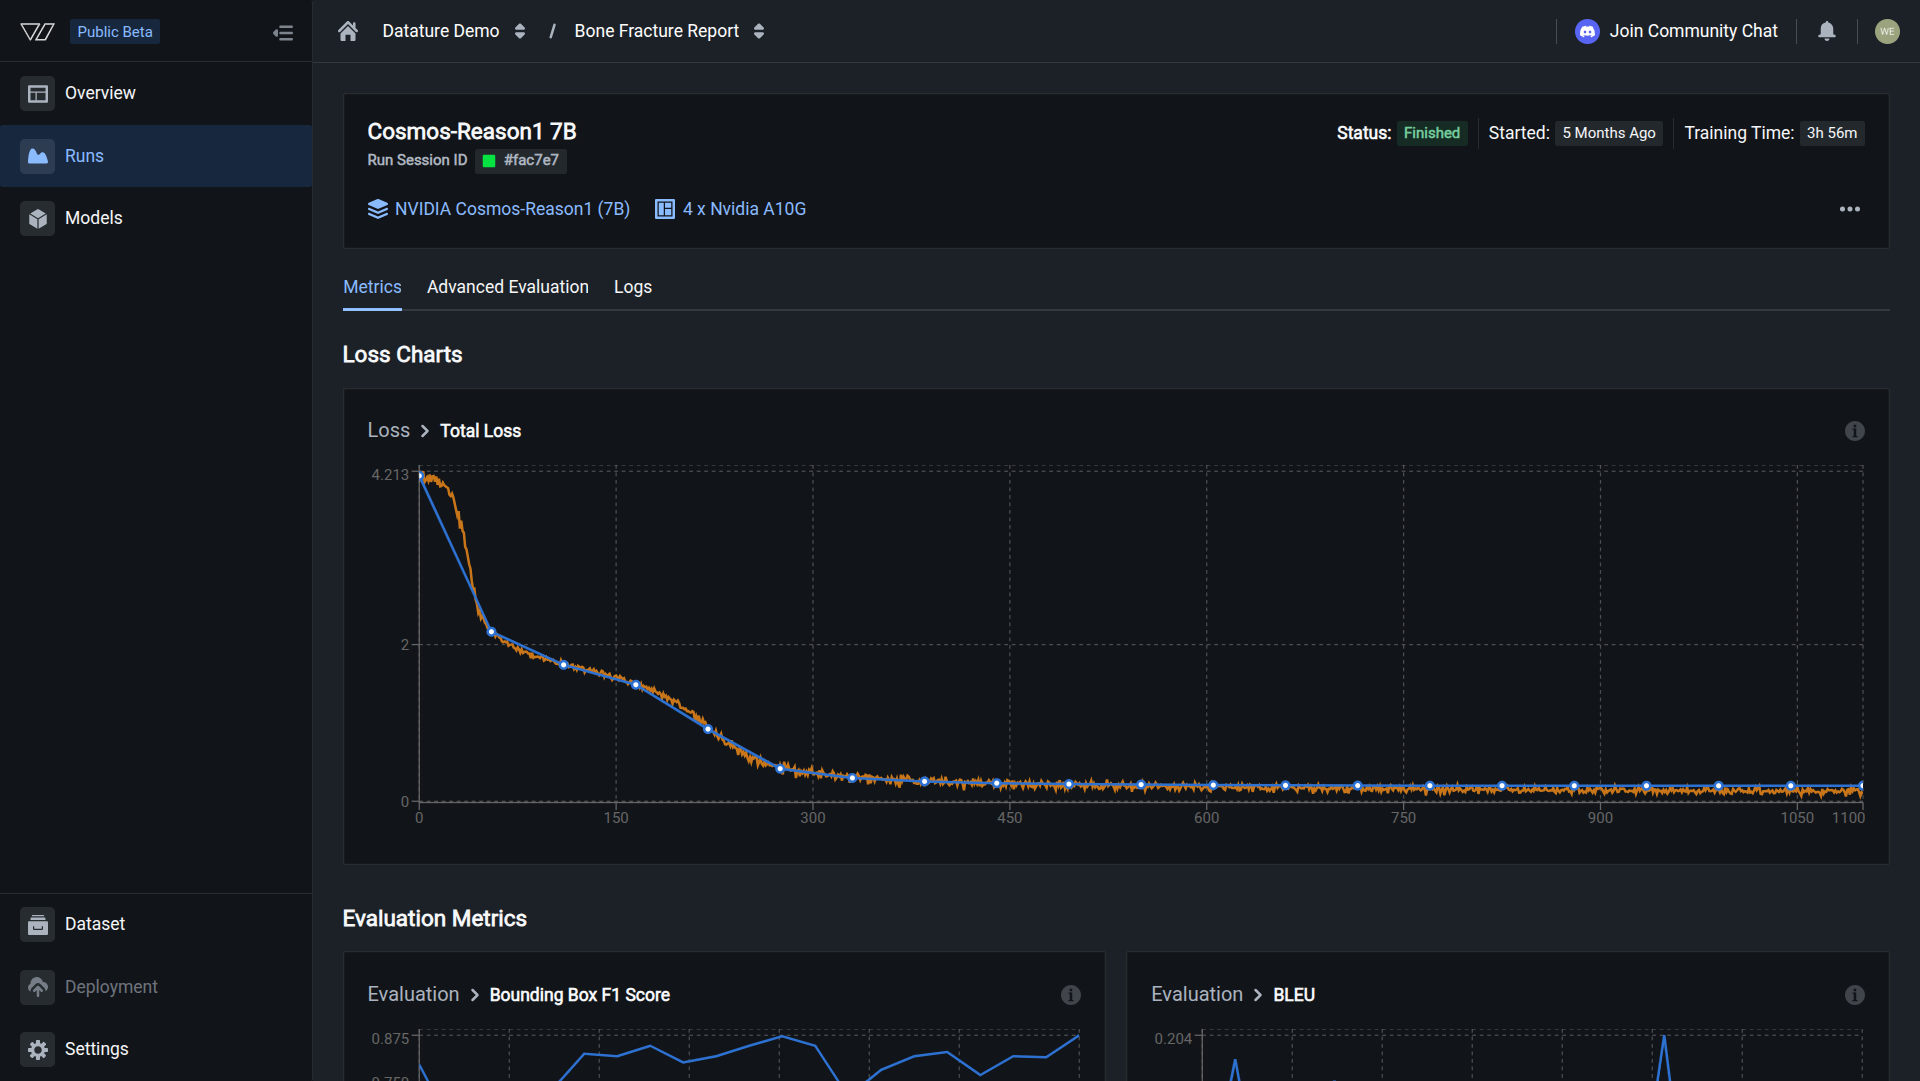
Your run launched successfully when the dashboard shows a Running status and the loss curve starts plotting values.
Training configuration
Before a run starts, you configure three training options: the evaluation interval that controls how often checkpoints are saved, whether advanced evaluation is enabled for visual prediction previews at each checkpoint, and which GPU hardware to use.
Model-specific training parameters like learning rate, batch size, epochs, and optimizer are configured in the model block. See model settings for details.
Evaluation interval epochs
The evaluation interval controls how often the model pauses training to run on the validation set, compute metrics (such as loss), and save a checkpoint. Setting this to 1 means the model evaluates after every epoch; setting it to 5 means it evaluates every five epochs.
Frequent evaluation gives you finer-grained visibility into training progress and more checkpoints to choose from. However, each evaluation pass takes time, especially with large validation sets or when Advanced Evaluation is enabled, so very frequent evaluation on long runs adds overhead.
Advanced evaluation
When enabled, Advanced Evaluation generates visual prediction previews at each evaluation checkpoint. The model runs inference on a sample of validation images and saves the output so you can visually inspect what the model is learning.
This is useful during experimentation to catch issues like hallucinated detections or formatting errors early. For production training where you only need loss curves, disable it to reduce evaluation time. See Advanced Evaluation for how to read and interpret these previews.
GPU hardware
GPU selection determines training speed, maximum model size, and compute cost.
Start with 1 GPU for T4, L4, A10G, and H100. Add more only if you encounter out-of-memory errors with your chosen batch size and model. A100 configurations are available as 8-GPU only. Each additional GPU increases the usage multiplier proportionally.
Dataset validation
Before training starts, Vi runs automated checks on your workflow configuration:
- Minimum data per split: Confirms that each split (train and validation) contains at least 20 annotated images or video sequences.
- Workflow validity: Checks that the workflow configuration is valid for the selected model and task.
All checks must pass before training can begin.
Do this with the Vi SDK
import vi

client = vi.Client(
    secret_key="your-secret-key",
    organization_id="your-organization-id"
)

run = client.runs.create(
    flow="your-flow-id",
    training_project="your-training-project-id"
)
print(f"Started run: {run.run_id}")
For more details, see the Vi SDK runs reference and the Vi SDK flows reference.
Next steps
Monitor A Run
Track loss curves, evaluation metrics, and checkpoint previews as training progresses.
Evaluate A Model
Review test set performance, confusion matrices, and prediction examples after training completes.
Manage Runs
View, compare, cancel, or delete training runs in your project.
Improve Your Model
Iterative retraining: diagnose weaknesses, add targeted data, retrain, and compare.
Updated 7 months ago