Create a Training Project
Set up a training project to organize your VLM workflows, runs, and models in Datature Vi.
- A dataset with annotations ready for training
- An idea of the geographic region where your data should be processed
New to Datature Vi? Learn what it does or follow the quickstart.
Open the Training page
In your Datature Vi dashboard, click Training in the left sidebar to open the Training page.
Task types
The task type is permanent. If you need a different task type, you must create a new training project.
The task type determines which training workflows and model architectures are available. For best compatibility, match both the task type and localization region to the dataset you plan to attach to the project.
Phrase grounding trains models to locate objects with bounding boxes based on natural language descriptions.
Visual question answering (VQA) trains models to answer natural language questions about image content.
Freeform text trains models to generate open-ended text from images. This is the only task type that supports video datasets.
Localization
The localization setting controls where your training data is processed and stored. Multi-Region is the recommended default for most projects, distributing data across multiple locations for lower latency and higher redundancy.
Choose Single Region when data sovereignty or compliance policies require data to stay within a specific jurisdiction. The available single region locations are:
The localization region is permanent. If you need a different region, you must create a new training project.
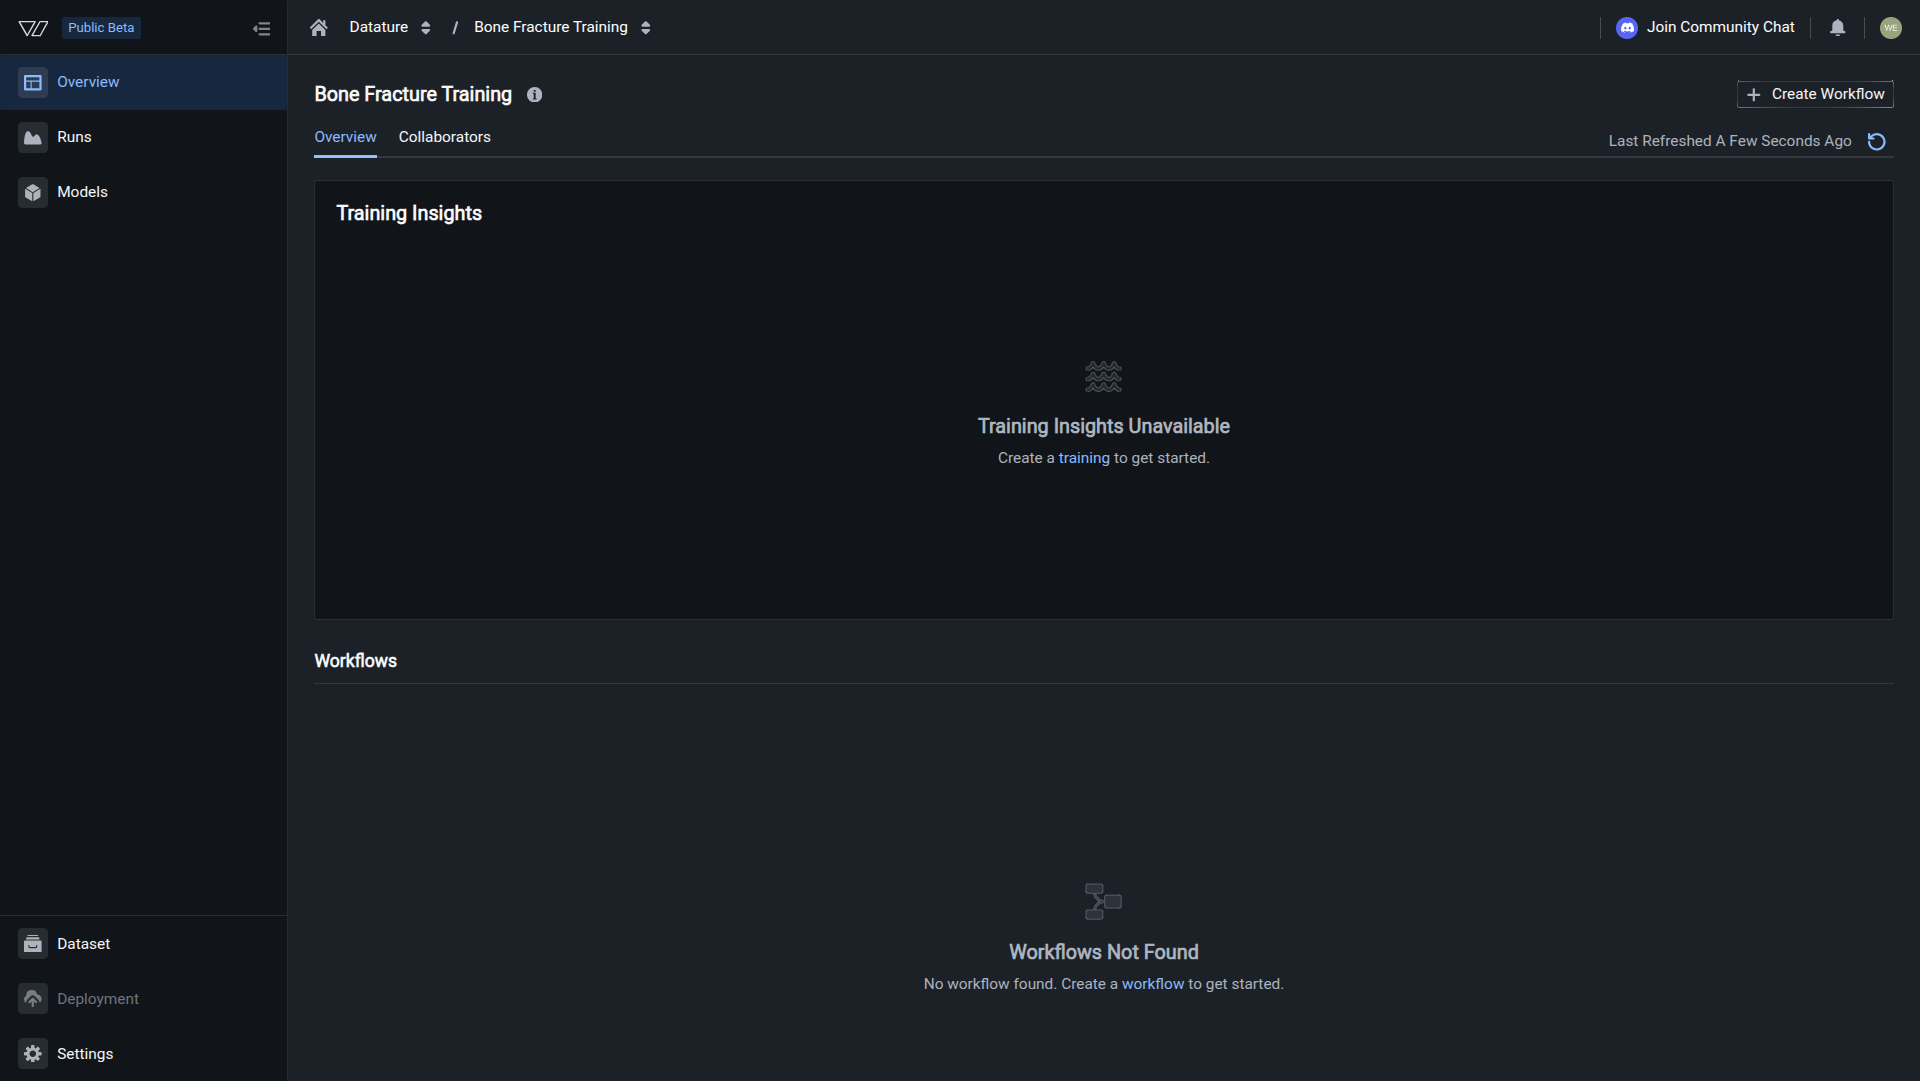
Your project is created when you see the project overview page with a workflows section. The project is empty at this point; you will add workflows in the next step.
Do this with the Vi SDK
import vi

client = vi.Client(
    secret_key="your-secret-key",
    organization_id="your-organization-id"
)

project = client.training_projects.create(
    spec={"name": "My Project", "type": "phrase-grounding"}
)

print(f"Created: {project.training_project_id}")
For more details, see the full SDK reference.