Deploy and Test Your Model
Download your trained VLM and run inference on new images using the Vi SDK.
A completed training run, Python 3.10+ installed locally, your secret key and organization ID, and a few test images not in your training dataset.
When your training run finishes, the model weights stay in Datature Vi until you download them. Vi SDK means the Datature Vi Python package: it pulls those weights to your machine and runs predictions on image files. NVIDIA NIM is an optional path for teams that want the same model packaged as an NVIDIA inference container instead of a raw Python script.
This guide covers finding your run ID, then downloading and running inference. For NIM-based serving, see the NIM deployment guide. For full API details, see the Vi SDK reference. To rename, edit keys, or delete downloads, see manage models.
Install the Vi SDK with inference support
Open a terminal and run the above command to install the SDK with PyTorch, Transformers, and other inference libraries. Replace [inference] with [all] to install all optional features. See the Vi SDK installation guide for GPU setup and environment options.
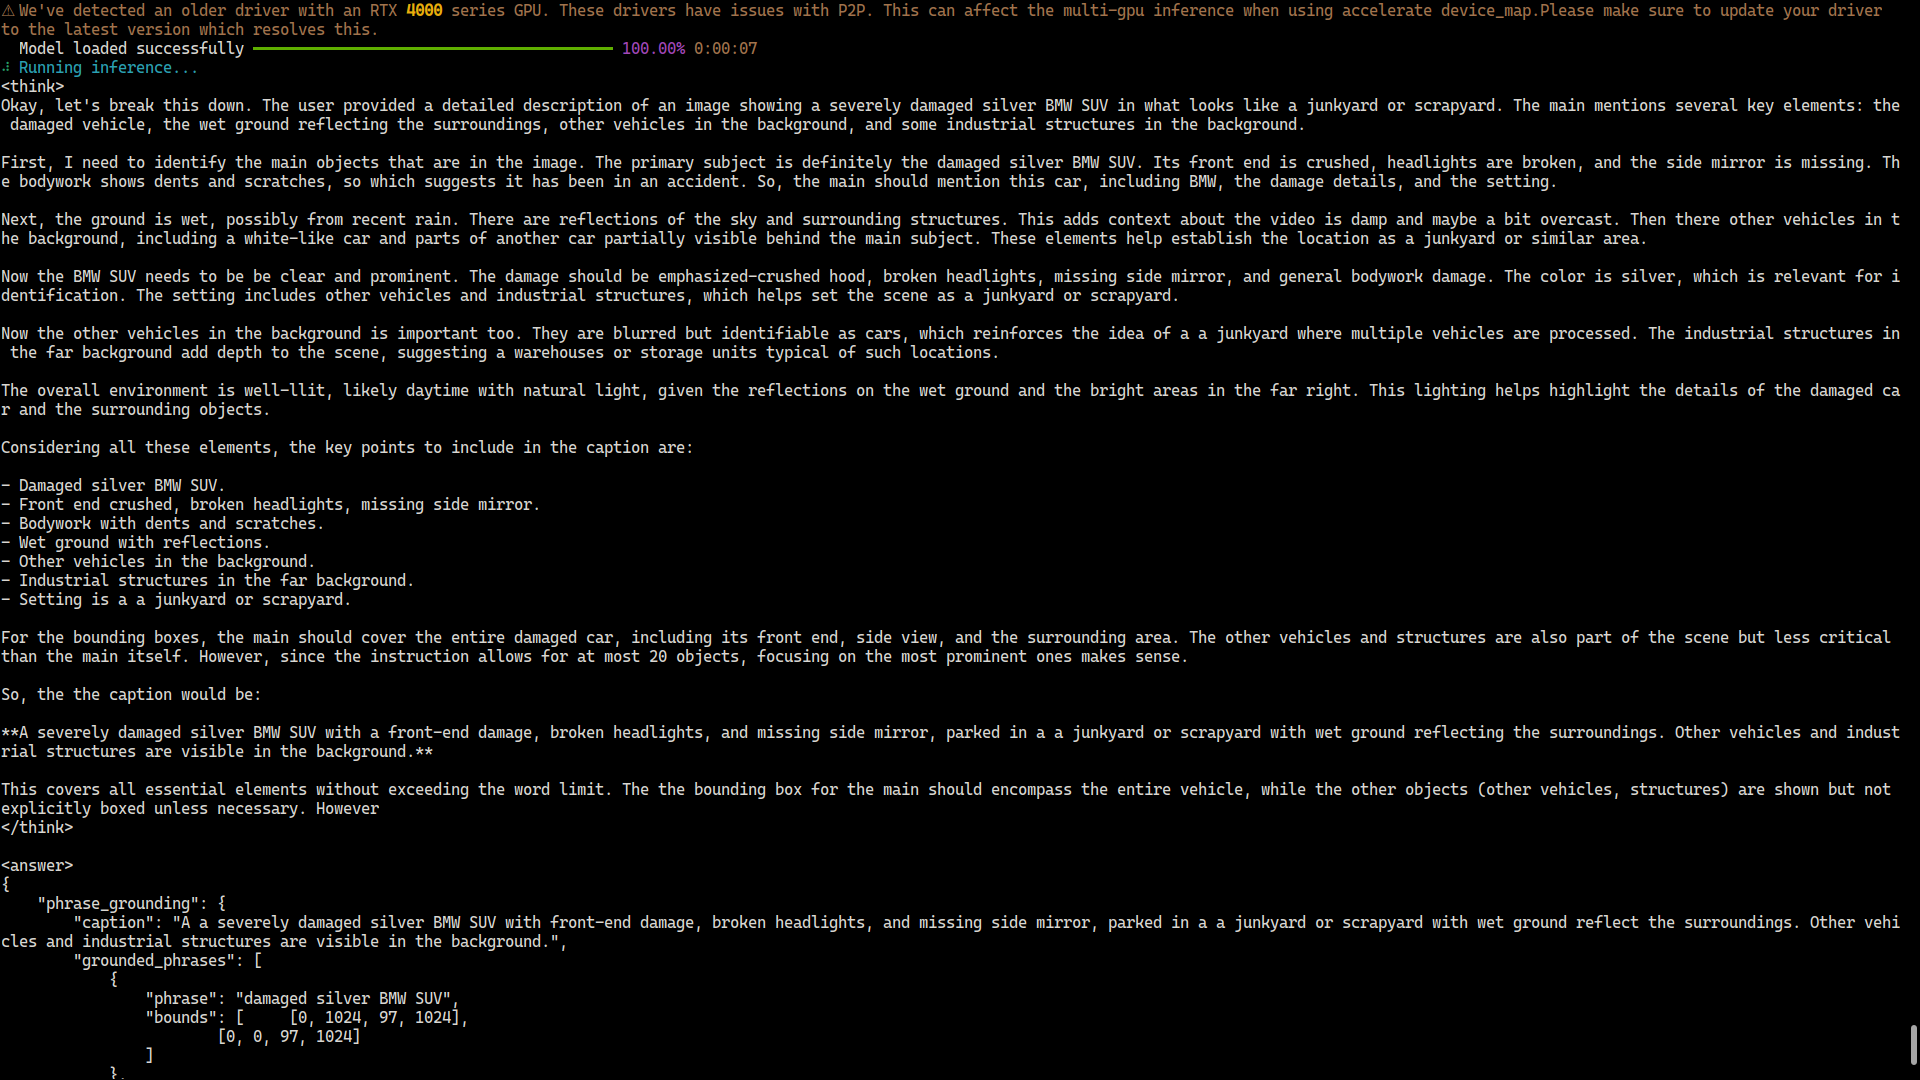
What to do if predictions look wrong
If your model's predictions do not match your expectations, check these things in order:
Review training metrics
Look at the loss curves and validation scores in the run dashboard. A validation loss that stopped decreasing early suggests the model did not converge. See evaluate a model.
Check your annotations
Poor predictions often trace back to inconsistent or sparse labels. Add more annotations and run a new training run.
Adjust the system prompt
A task-specific system prompt (for example, "You are a PCB defect detection model") often improves results over the generic default. Edit it in the workflow and start a new run.
Try a different model architecture
Different base models suit different tasks. See configure your model for the options.
Your deployment is working when the SDK returns predictions without errors for your test images and the output reflects your training task.
Next steps
Evaluate Your Model
Review validation metrics, compare runs, and assess prediction quality in depth.
Vi SDK Reference
Explore the full SDK documentation for inference options, batch processing, and production integration.
Deploy with NVIDIA NIM
Serve your model in a containerized environment for production-scale inference.
Optimize Inference Performance
Tune generation parameters, batch size, and hardware settings for faster predictions.
Configure Generation Settings
Control temperature, max tokens, and other generation parameters for inference.
Manage Secret Keys
Create, rotate, and manage API keys for SDK authentication.